Creating Datasets#
After importing the data, the subsequent task involves creating Dataset within our platform. Our platform enables users to create Datasets and modify data types to enhance comprehension and facilitate processing. Users have the flexibility to select specific tables and columns for loading prior to Dataset creation, allowing for customization and efficient data management.
After establishing the data connection, you can proceed with the following instructions to create a Dataset.
Go to the Configuration panel and select the Data Management option from the Data Workbench menu.
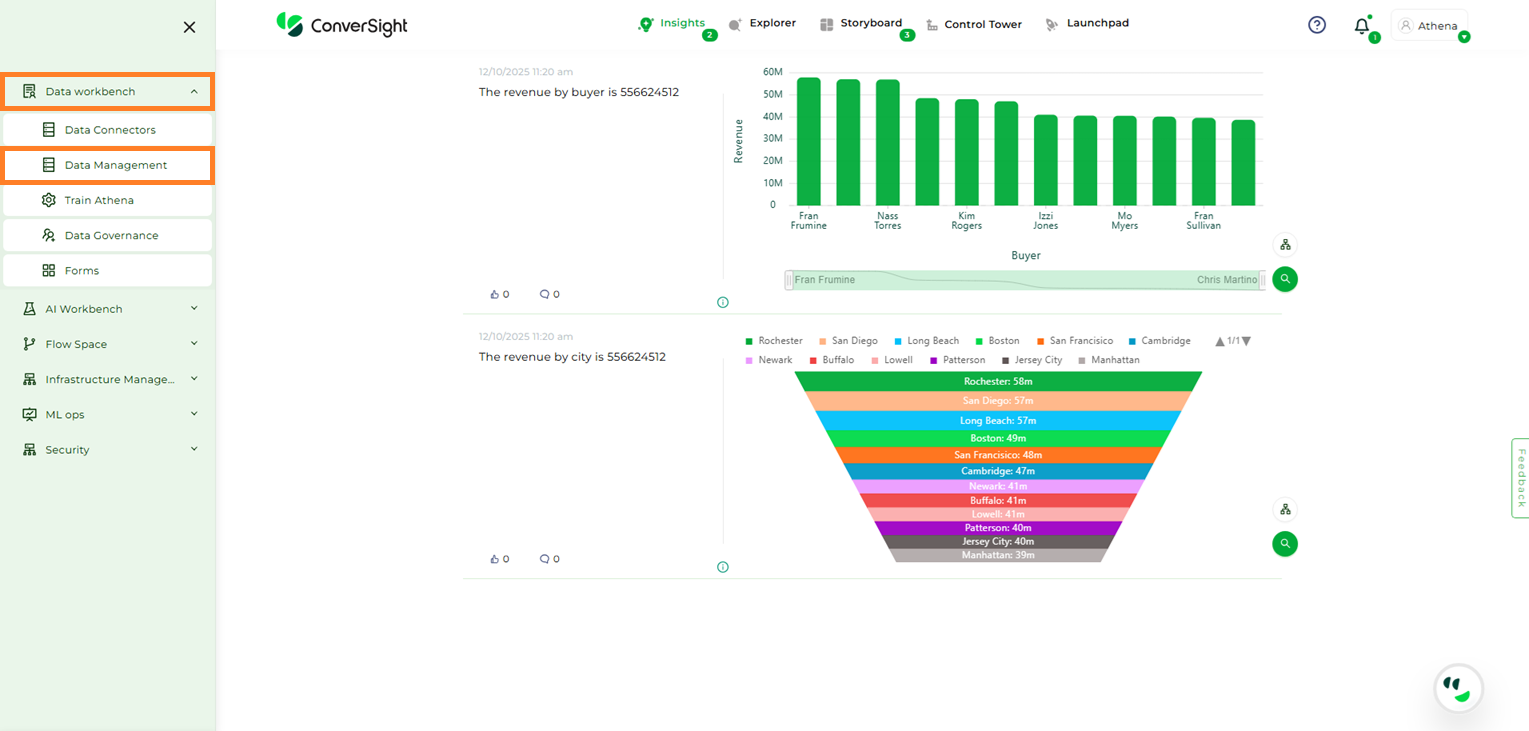
Data Management Option#
Click on the + Create New button.
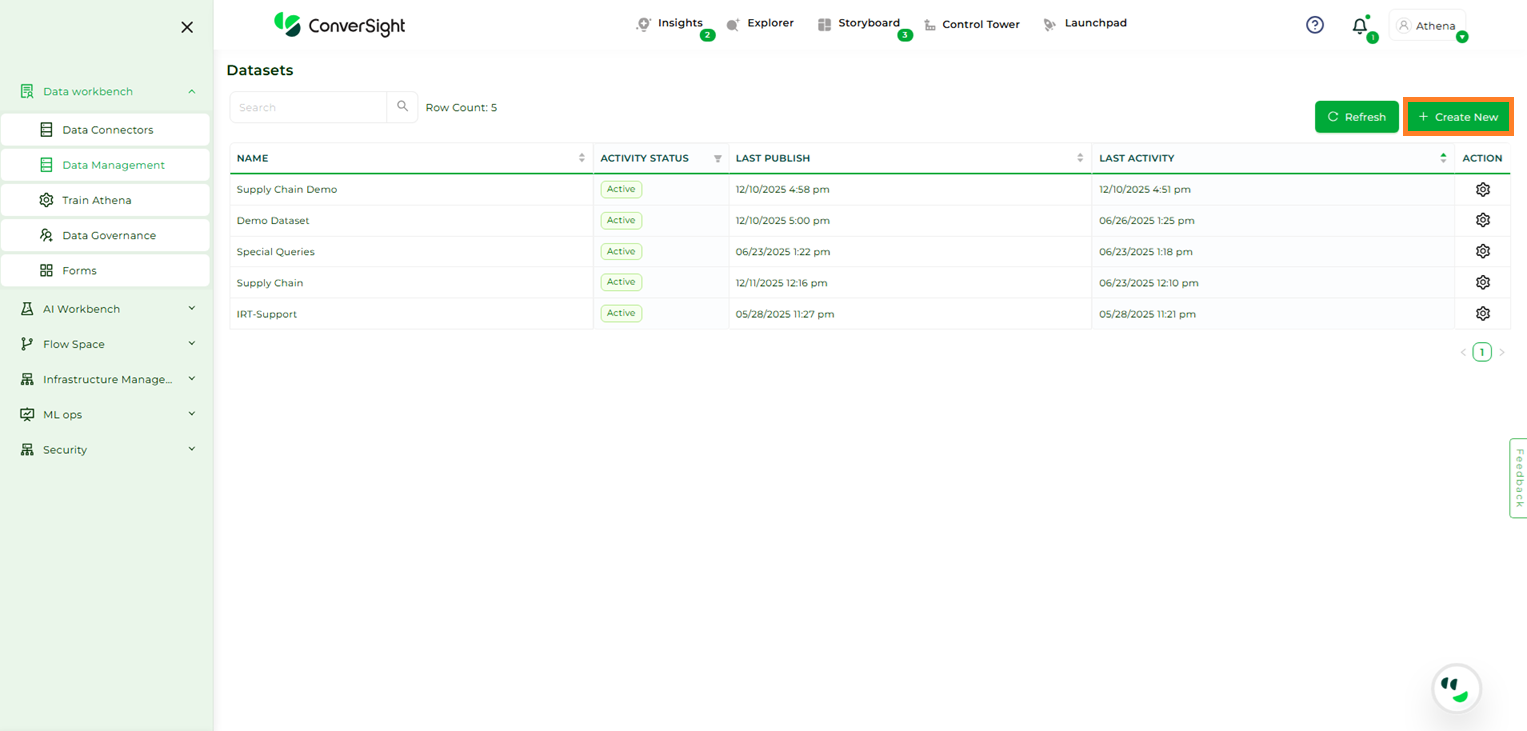
Create#
Complete the required information and choose the relevant geographic settings. Users have the option to utilize pre-existing templates provided to them by simply selecting the Dataset Template.The ISO format checkbox is selected when the data is loaded in one geographical time zone and the insights derived from it are utilized across various geographical locations. This consideration is important because there may be a time lag in data calculations, which might end in a one-day difference and to avoid such, we can check on ISO Format.Then, select Next.
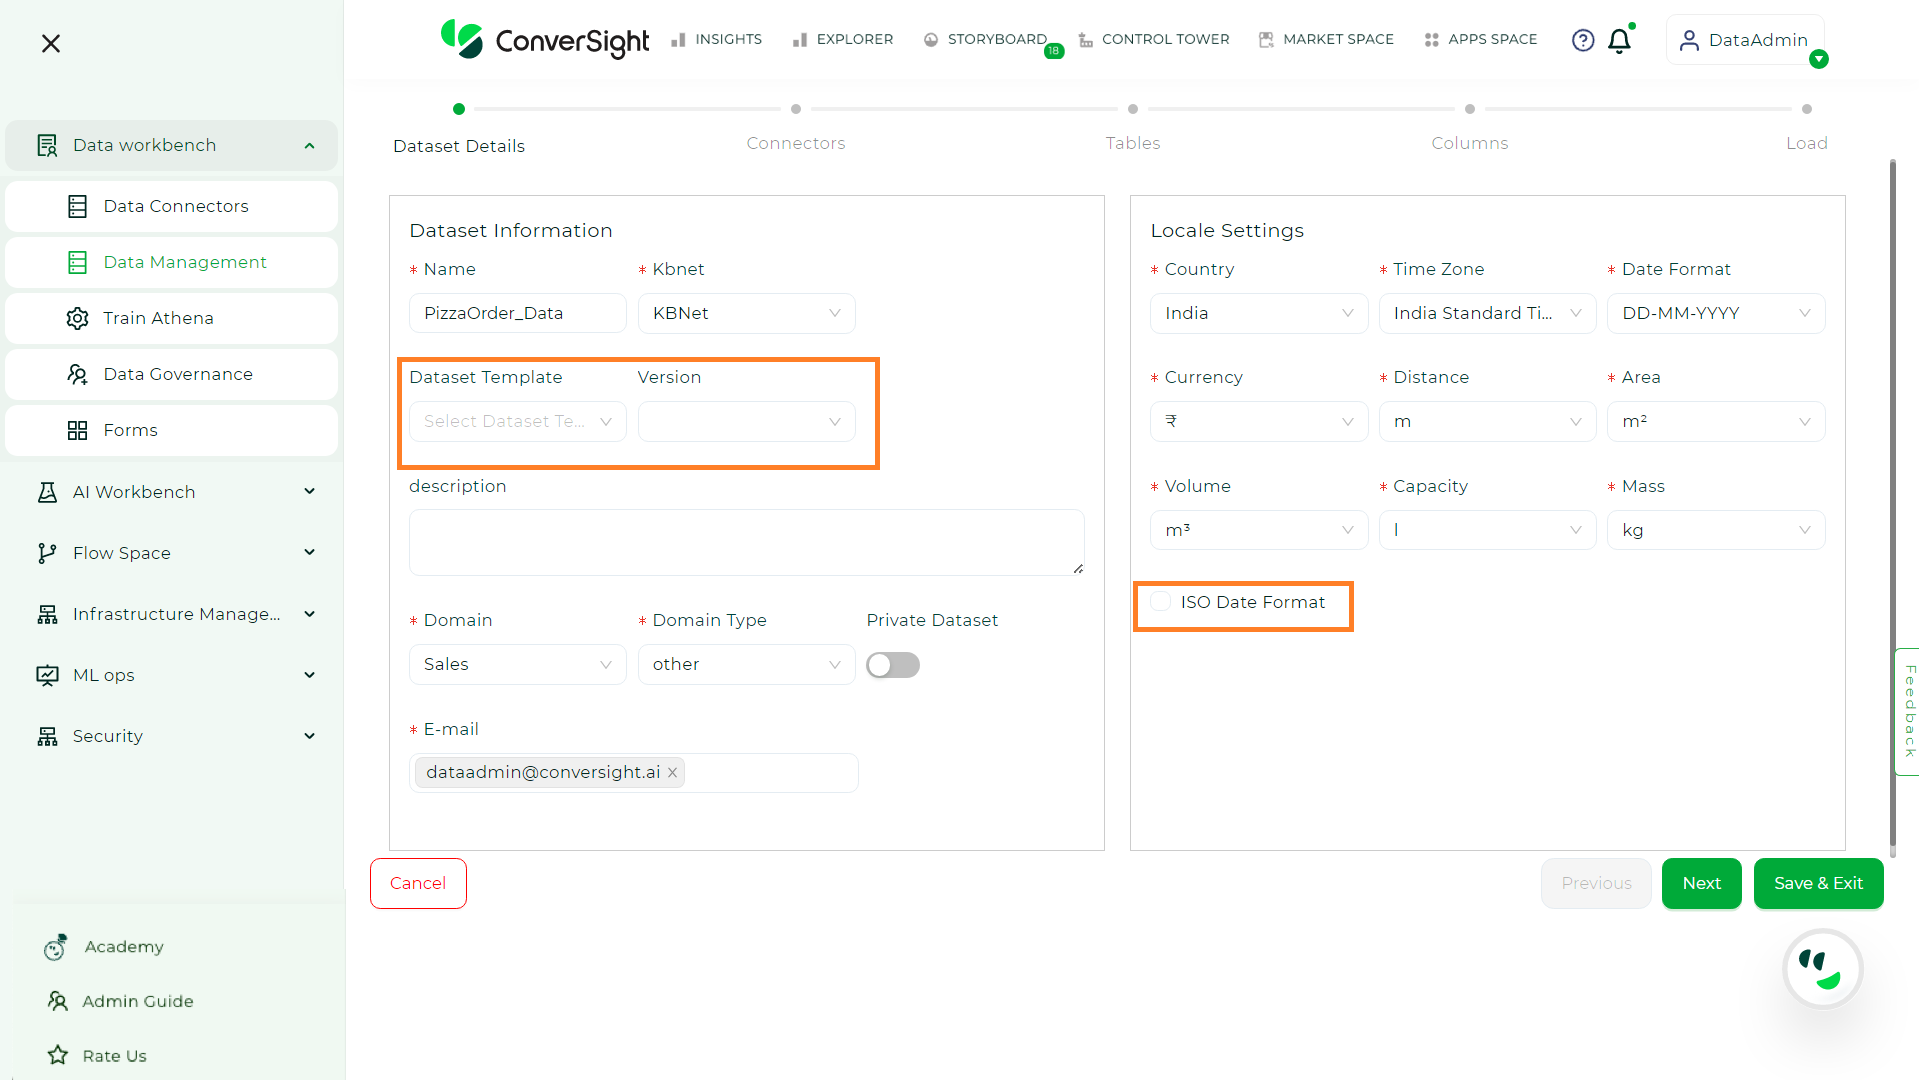
Dataset Details#
Users have the option to select from available data connectors or create a new one by clicking on Create New Connector button. After choosing a data connector, they can proceed to the next step by clicking on Next.
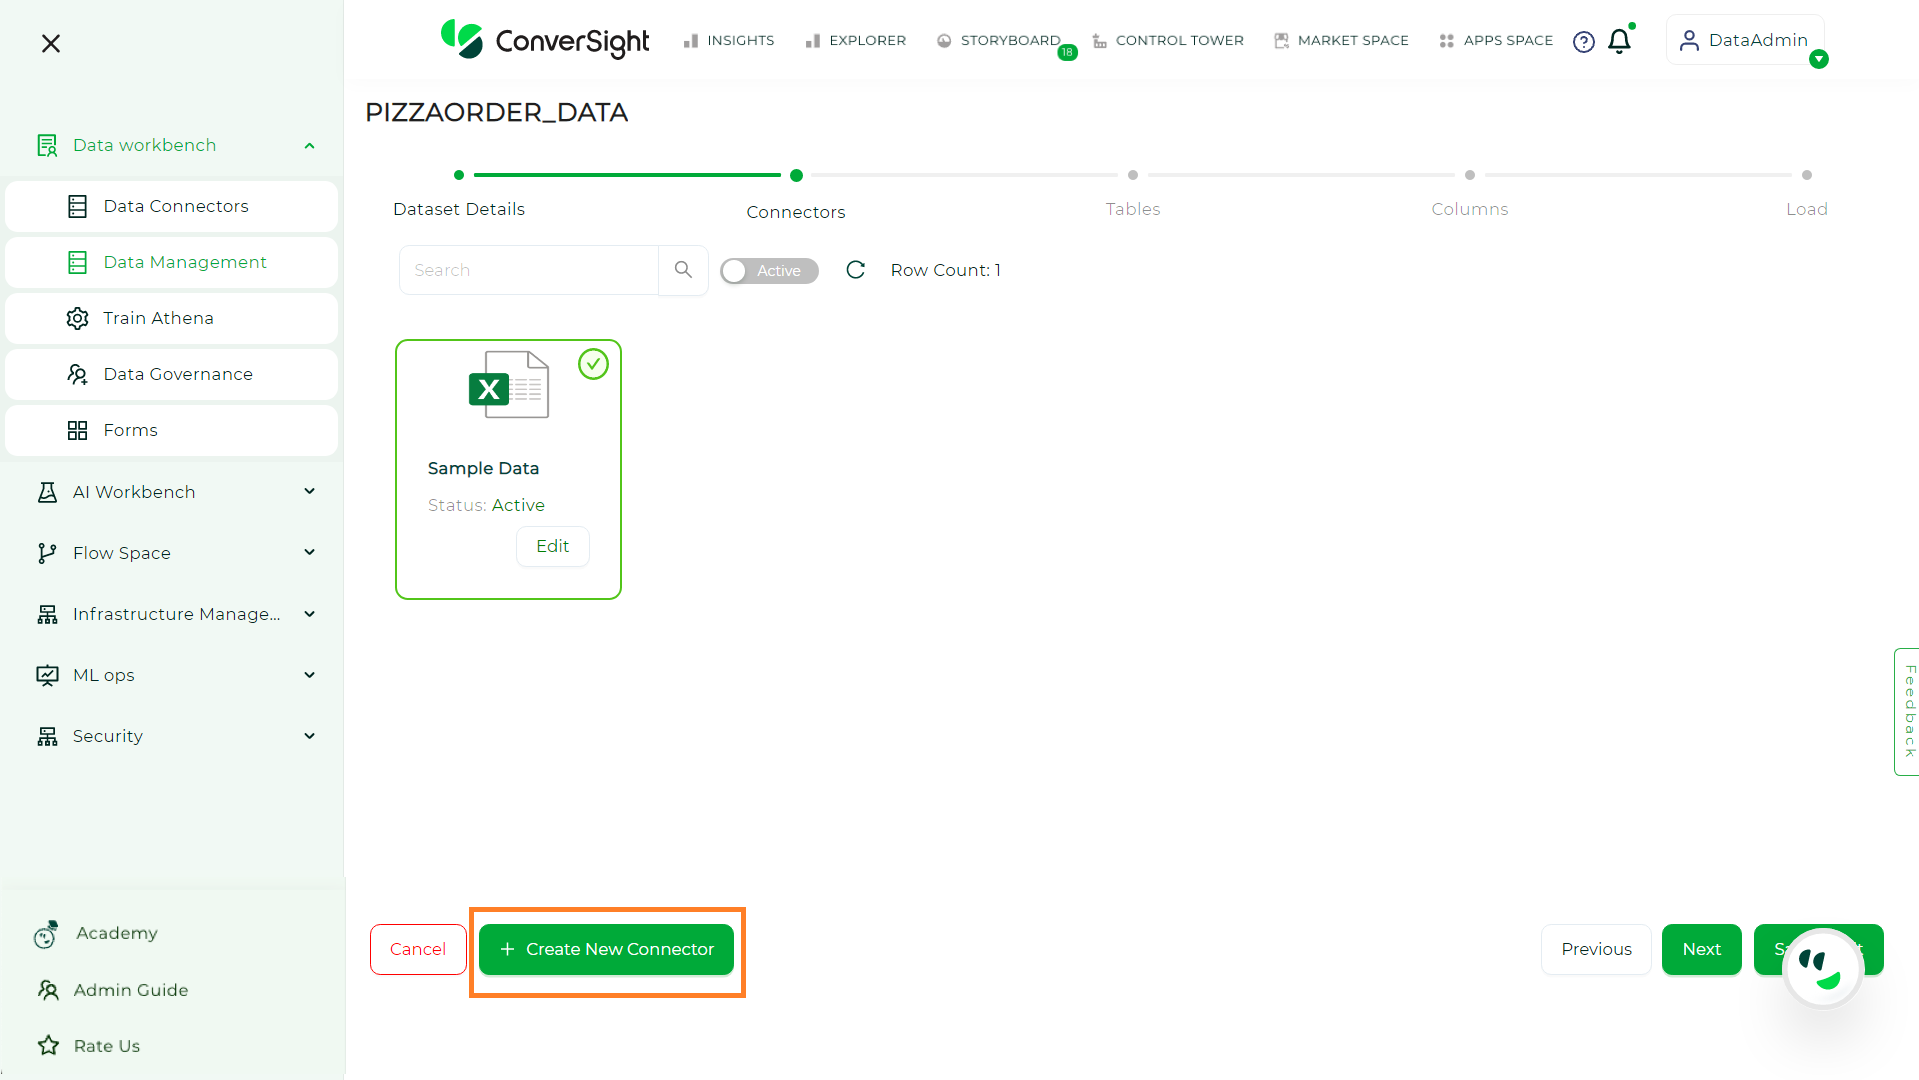
Selecting Connectors#
Choose the tables you want to include in your Dataset and then click Next.
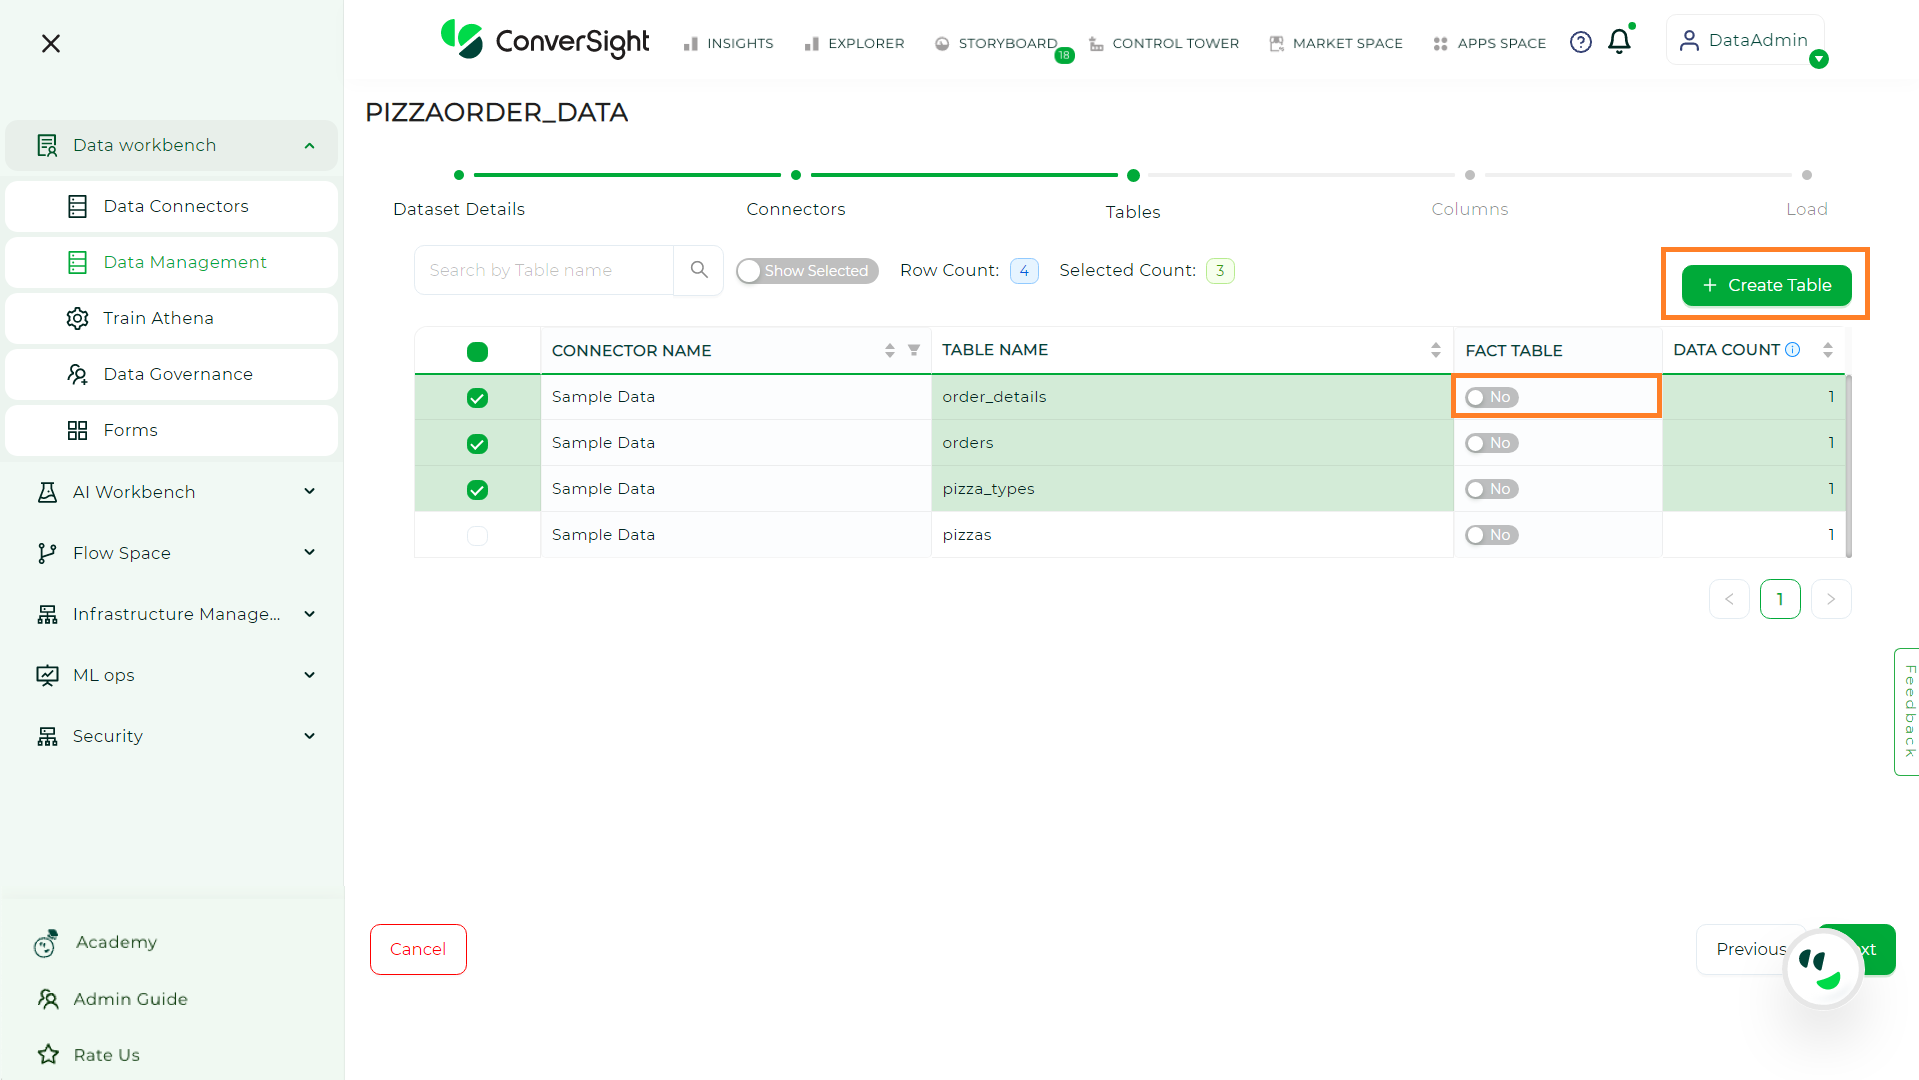
Selecting Tables#
In addition, users can choose to create a table by clicking on the Create Table option. This allows users to input SQL queries to retrieve tables, which is applicable to data connectors other than Excel. Users have the flexibility to enable or disable the Fact Table setting. When the Fact Table is enabled, it signifies that the table should be regarded as a different type of table or should not be used as the primary source of facts in the analysis. Conversely, when the setting is disabled, the table will be treated as the primary source of facts for analysis purposes.
Additionally, you can choose particular columns and alter their data type from the drop-down menu before clicking Next.
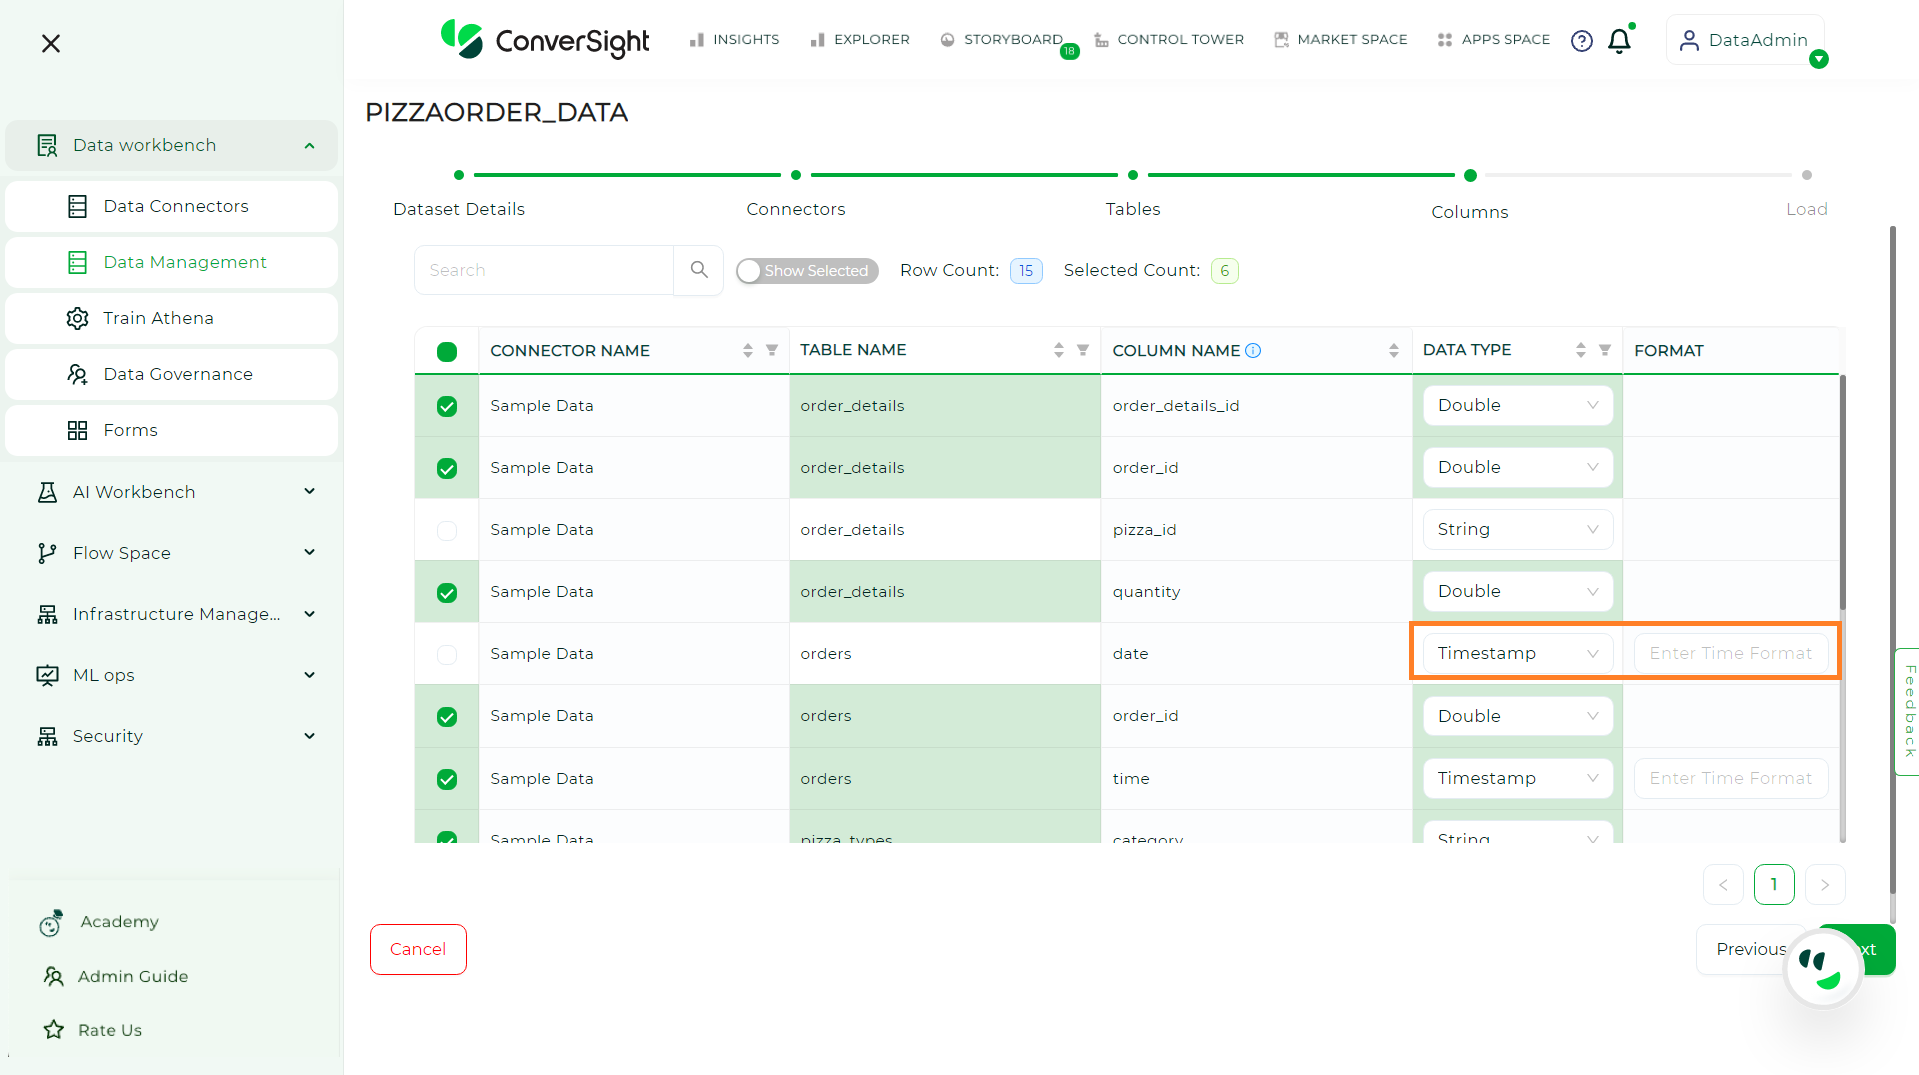
Selecting Columns#
NOTE
When dealing with dates, it is crucial to accurately select the timestamp format.
Once you have completed the previous steps, your Dataset is now ready to be loaded. Simply click on the Load button to initiate the loading process.
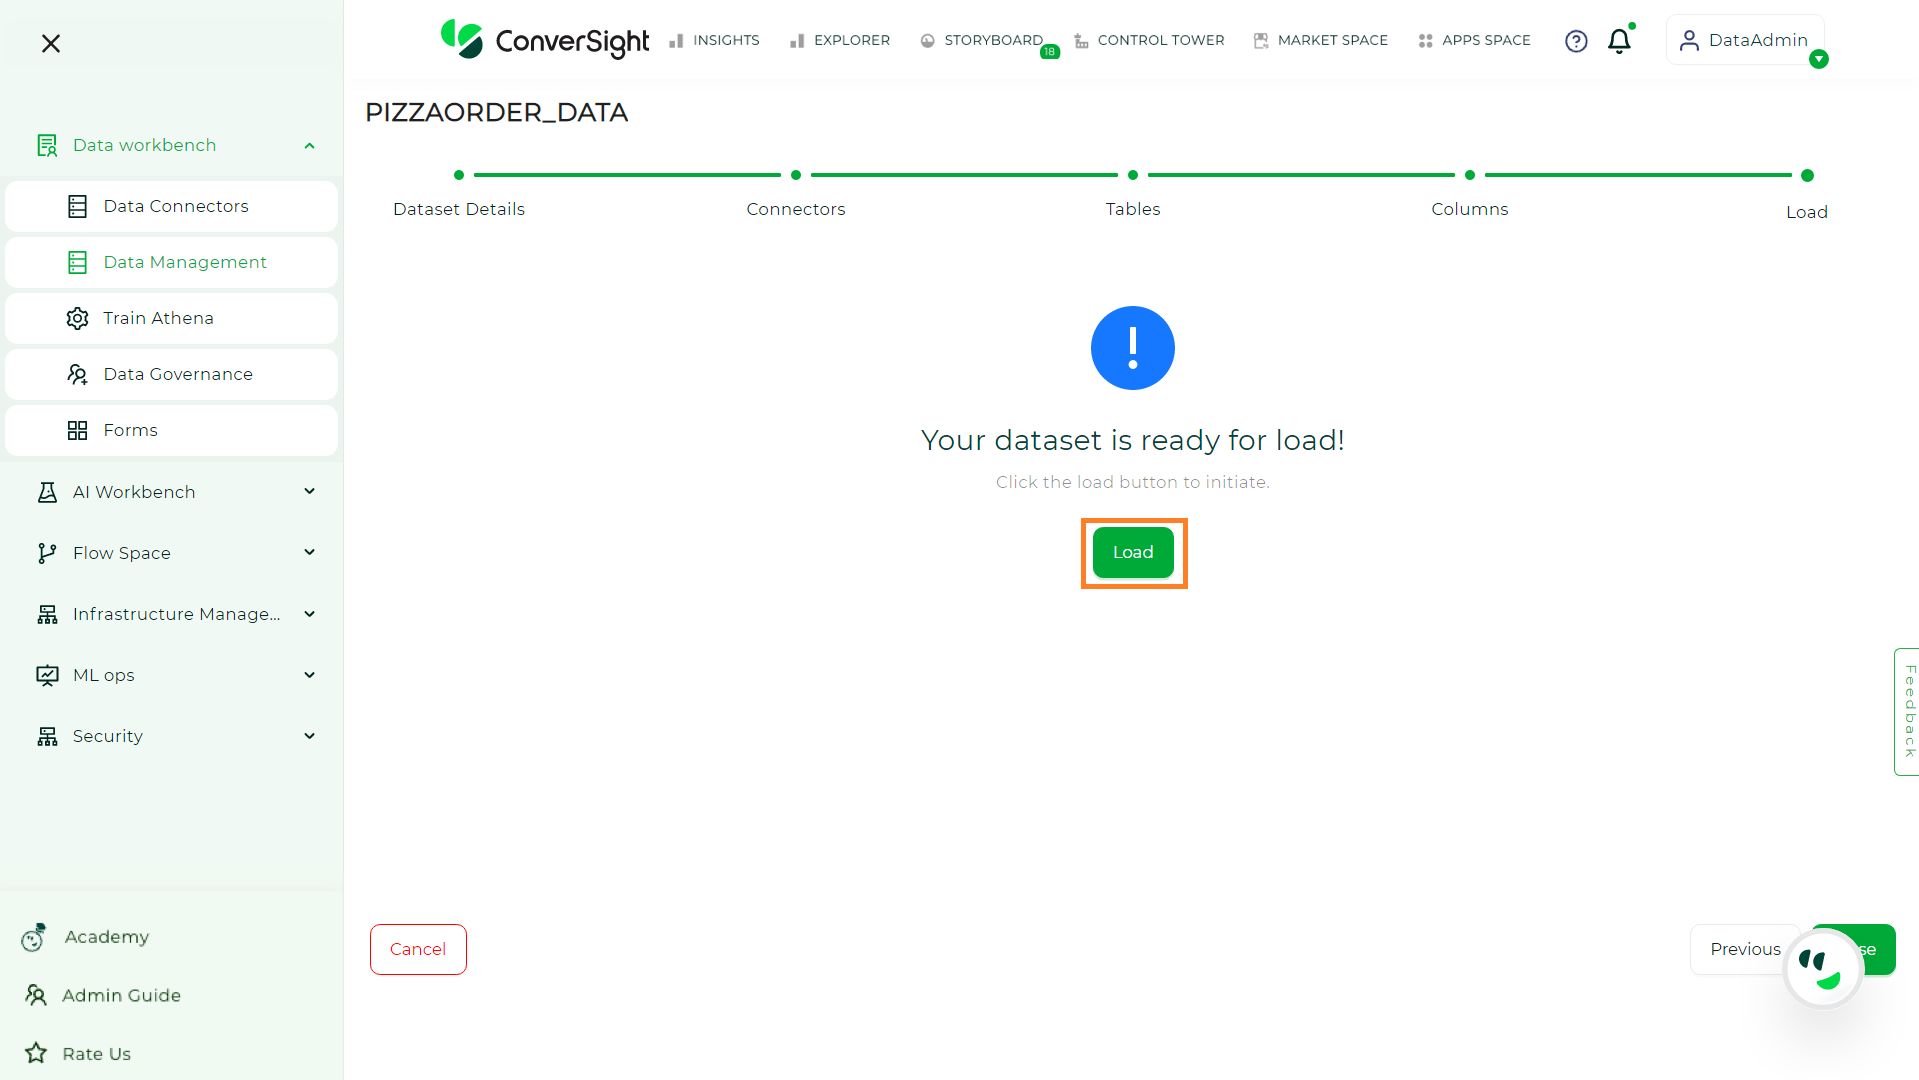
Dataset Loading#
Once the Dataset is loaded, you will receive an email with the status of the loading process at the email address provided in the Dataset Details page. To optimize query processing and improve efficiency, click on Configure SME to configure the settings for the Athena and AI/ML models.
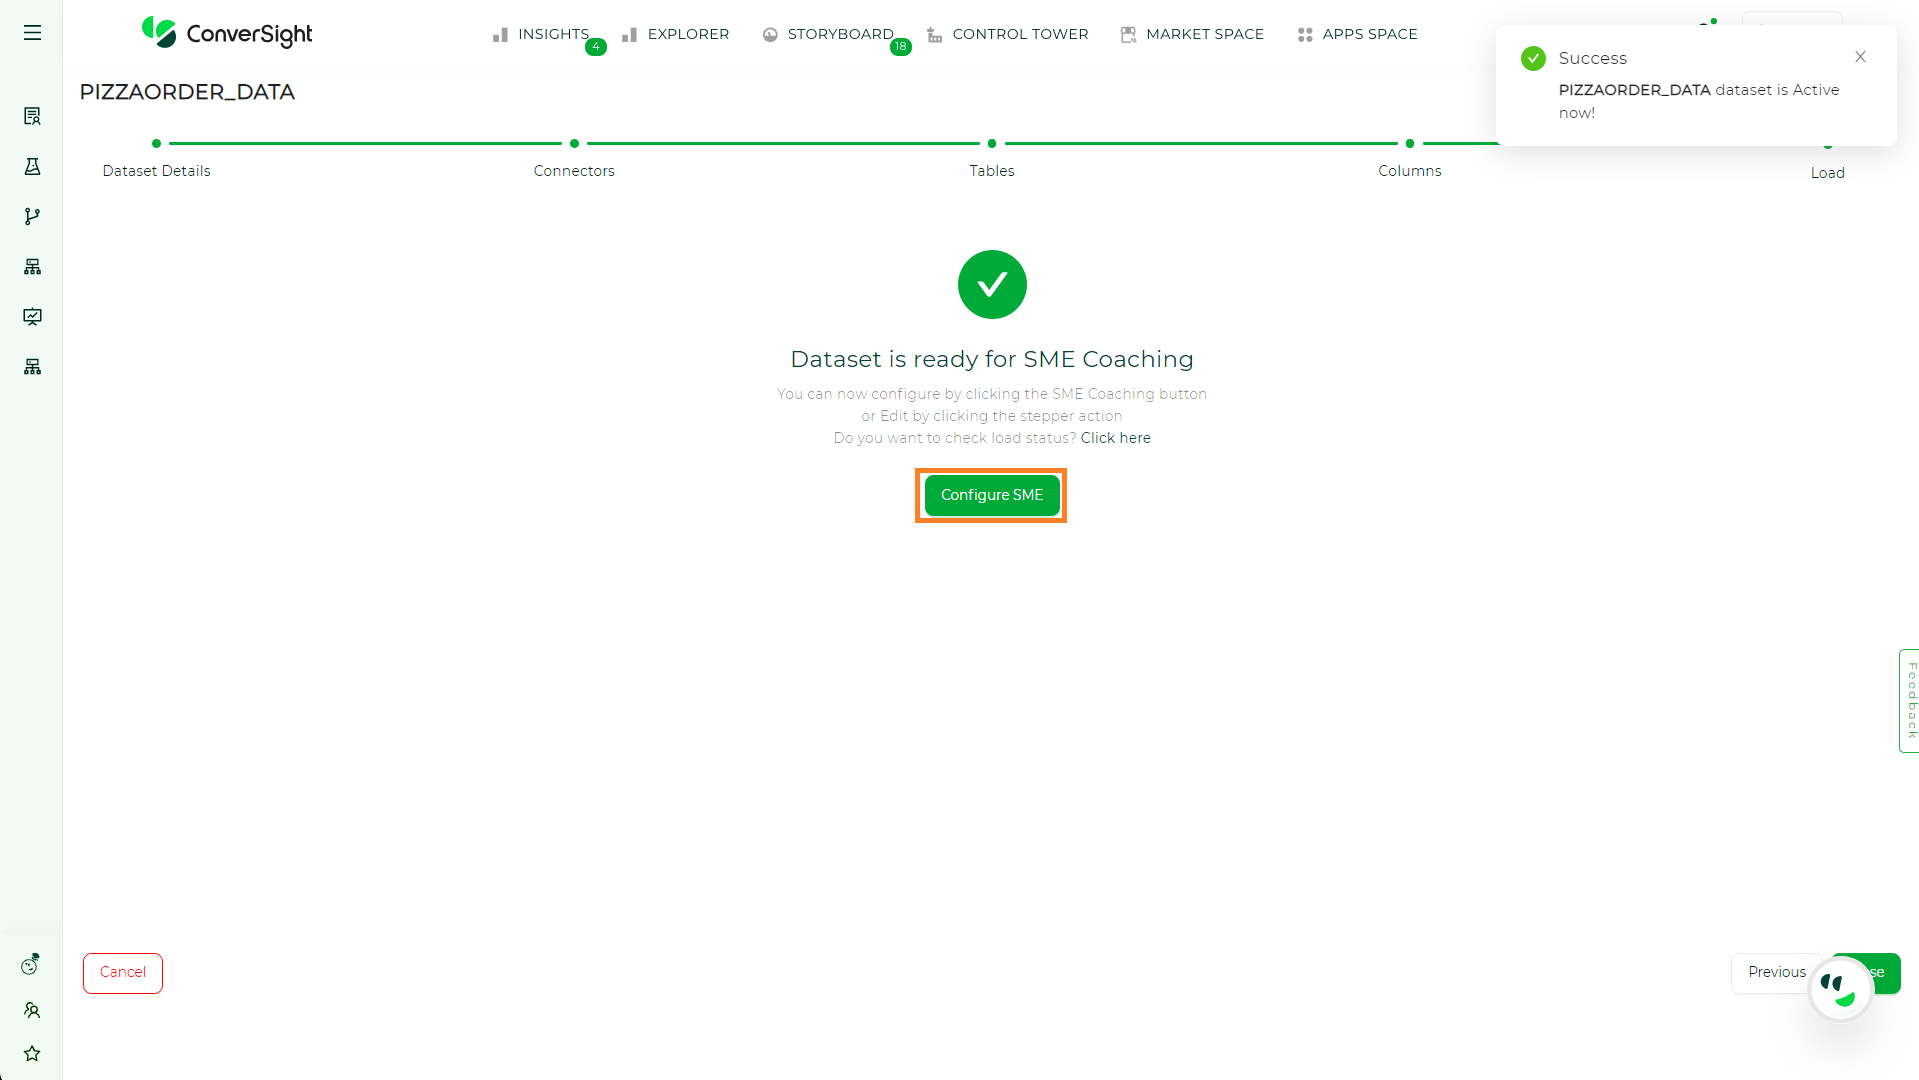
Dataset Ready#