AI Workbench#
AI Workbench is a combination of ML Studio, previously known as Flow Studio, Notebook, Tasks and Flows.
ML Studio#
Machine Learning Studio is a cloud-based, integrated development environment (IDE) for building, deploying and managing machine learning models. It provides a visual interface for building models and allows users to drag and drop modules to create workflows, without requiring extensive programming knowledge. The platform offers a wide range of algorithms and tools for data preparation, model training and deployment, making it easy to build and deploy machine learning models.
ML Studio also provides a rich library of pre-built, reusable modules, as well as the ability to build and share custom modules. This makes it possible to collaborate and scale machine learning projects, whether you are working alone or with a team.
ML Studio provides a cloud-based environment, meaning you can access your models and data from anywhere with an internet connection. This makes it easy to work on projects and share your work with others.
ML Studio was earlier called as Flow Studio. You can now create a flow without using Jupyter Notebook. ML Studio focuses on the creation of flow and functions associated with it. So, just as we can create a flow and perform various actions on it in Notebook, we can do the same in ML Studio.
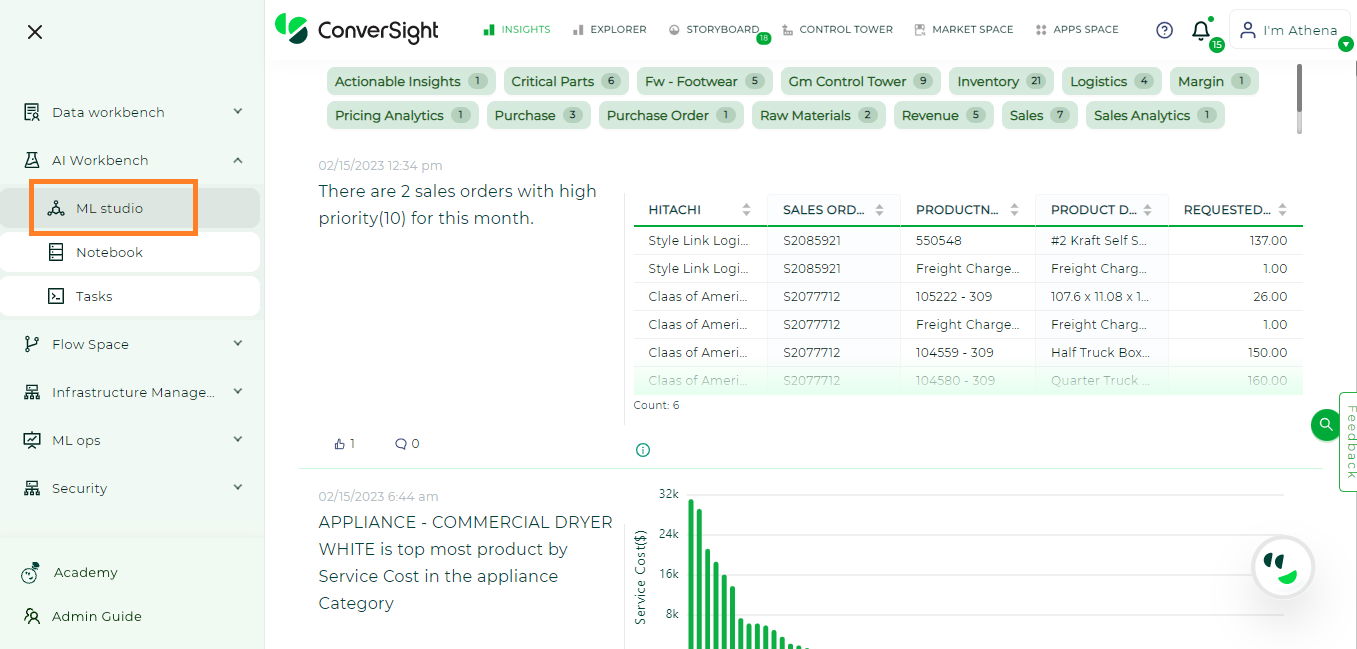
ML Studio#
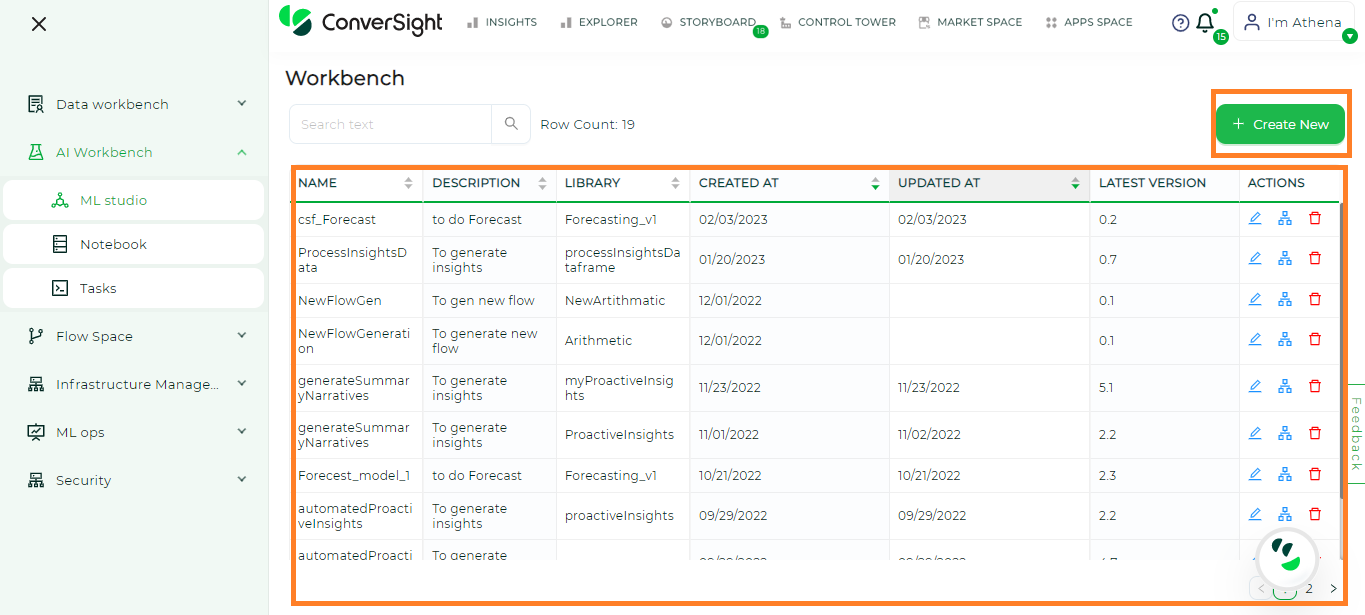
By navigating to ML Studio, you can create a new flow by clicking Create New on the right side of your ML Studio window.
Creating ML Studio#
While creating a flow, you can enter your flow name and give an description for that flow. After filling the details, you can click on Create and your flow is now created.
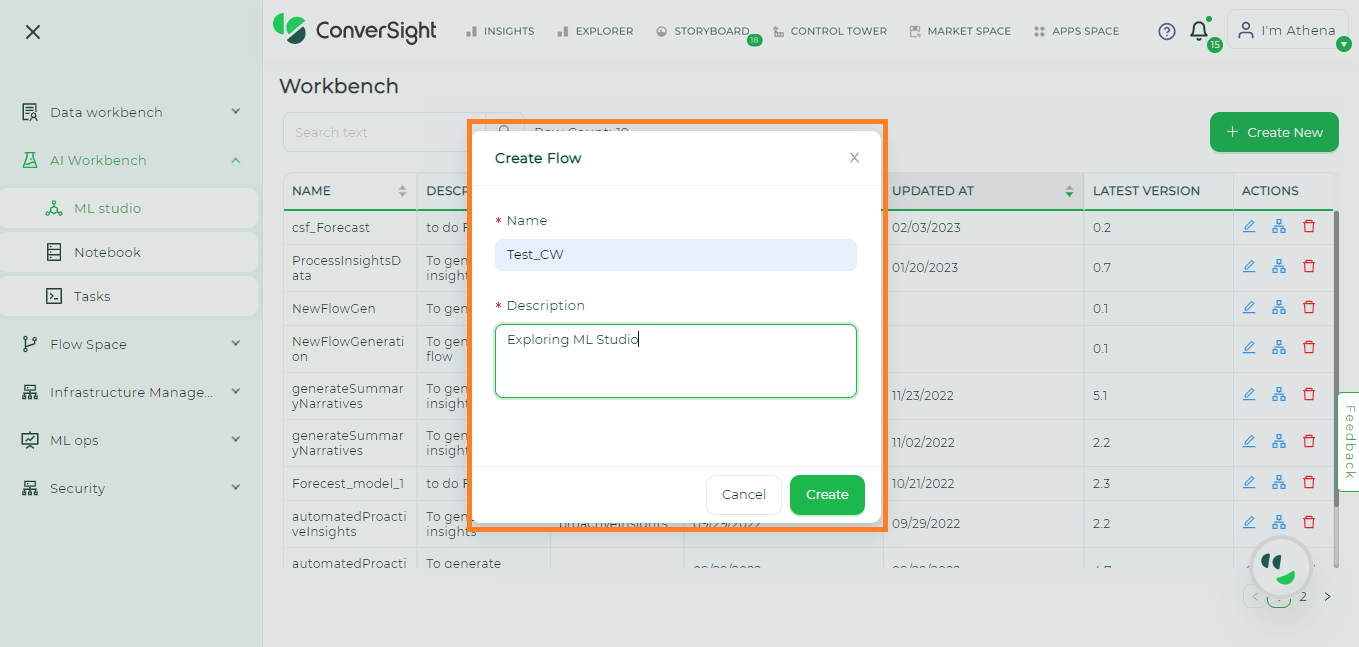
Creating ML Studio#
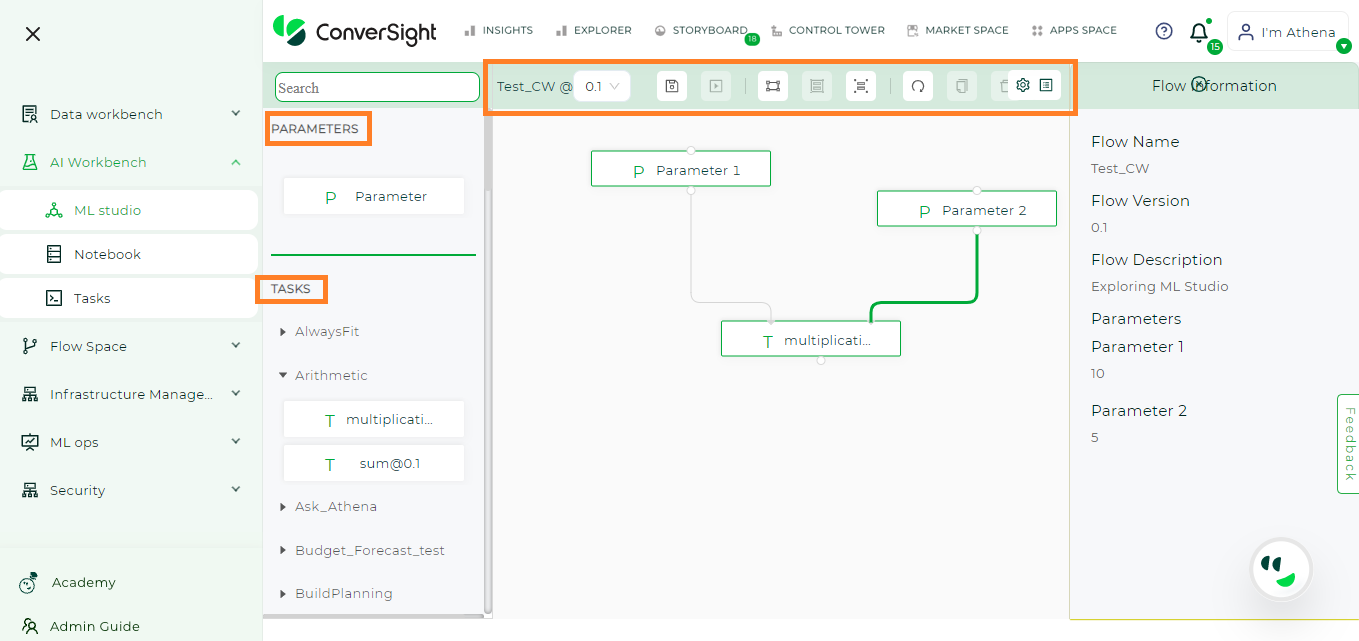
Once you proceed with create, your screen will navigate to the below page. Here you can add the required number of parameters, select the required task and provide the values for your parameters.
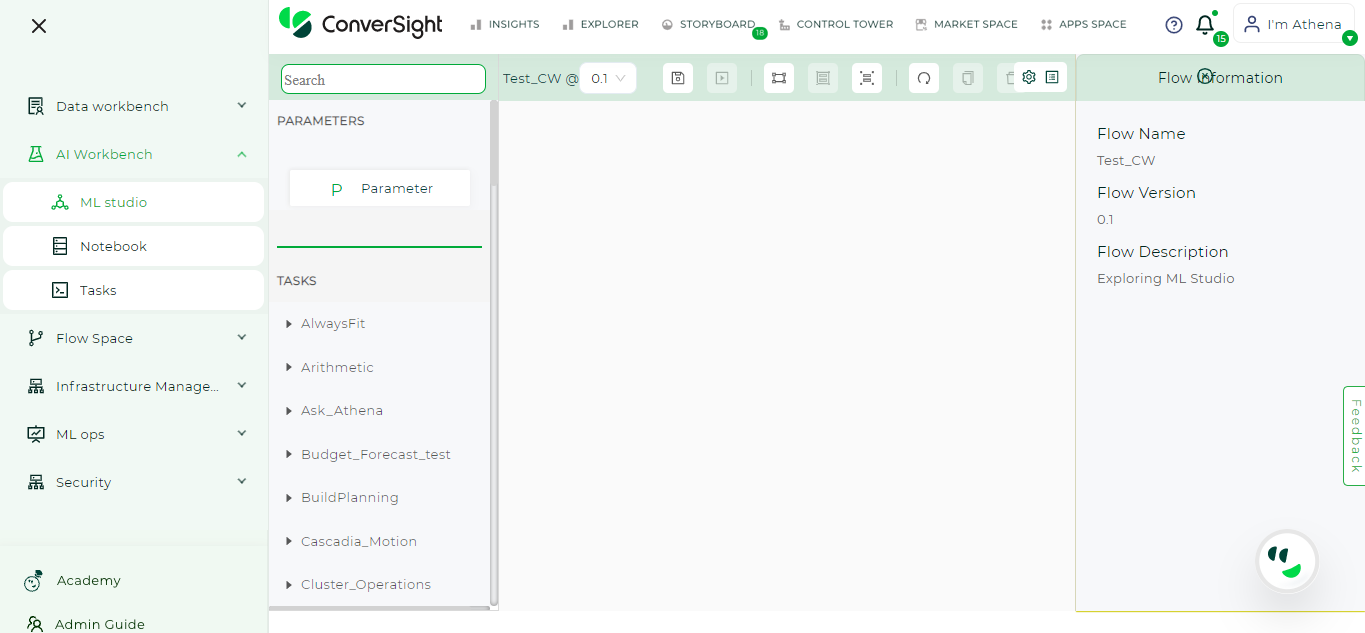
Flow Creation - ML Studio#
After providing the values, you can save your flow to your flowLibrary and you can run, register and promote your flow here itself.
Flow Creation - ML Studio#
Just by doing drag and drop action, you can create your own flow as per your requirement.