Infrastructure Management#
Infrastructure management is a critical component of modern business operations that encompasses the oversight and optimization of various technical and operational elements essential for achieving optimal efficiency, reliability and security. These elements may include hardware, software, data, policies, processes, equipment and facilities, among others.
ConverSight, a leading provider of infrastructure management solutions, offers a comprehensive approach to managing an organization’s infrastructure, leveraging the latest technologies and best practices to ensure that critical systems and processes are optimized for maximum performance and availability. ConverSight’s infrastructure management solution provides businesses with the tools and insights needed to effectively manage their infrastructure, mitigate risks and meet the evolving demands of their customers and stakeholders.
Compute Farm#
Compute Farm is all about creating and managing Clusters.
Compute Farm#
Cluster#
A cluster refers to a collective assembly of nodes functioning collaboratively and in synchronization to perform a series of activities referred to as flows. The size of the cluster can either remain constant or dynamically adjust by scaling up or down in response to the resource demands of the applications running within the cluster. The benefits of using Clusters include high performance, scalability and flexibility. They are also simple to manage.
Let us see how to manage Clusters in the User Interface and Jupyter Notebook. Cluster Creation can only be done in User Interface, where as Cluster Actions can be done in both User Interface and in Jupyter Notebook. In User Interface, we can start a Cluster manually, edit the specifications of a Cluster created, manage a Cluster and delete a Cluster. Where as in Jupyter Notebook, we can perform various actions such as start(), reload(), connect(), disconnect() and stop() .
Cluster Creation in User Interface#
In order to create a cluster within the user interface, the user must possess a valid subscription for the cluster. Now, let’s explore the necessary steps to create a cluster.
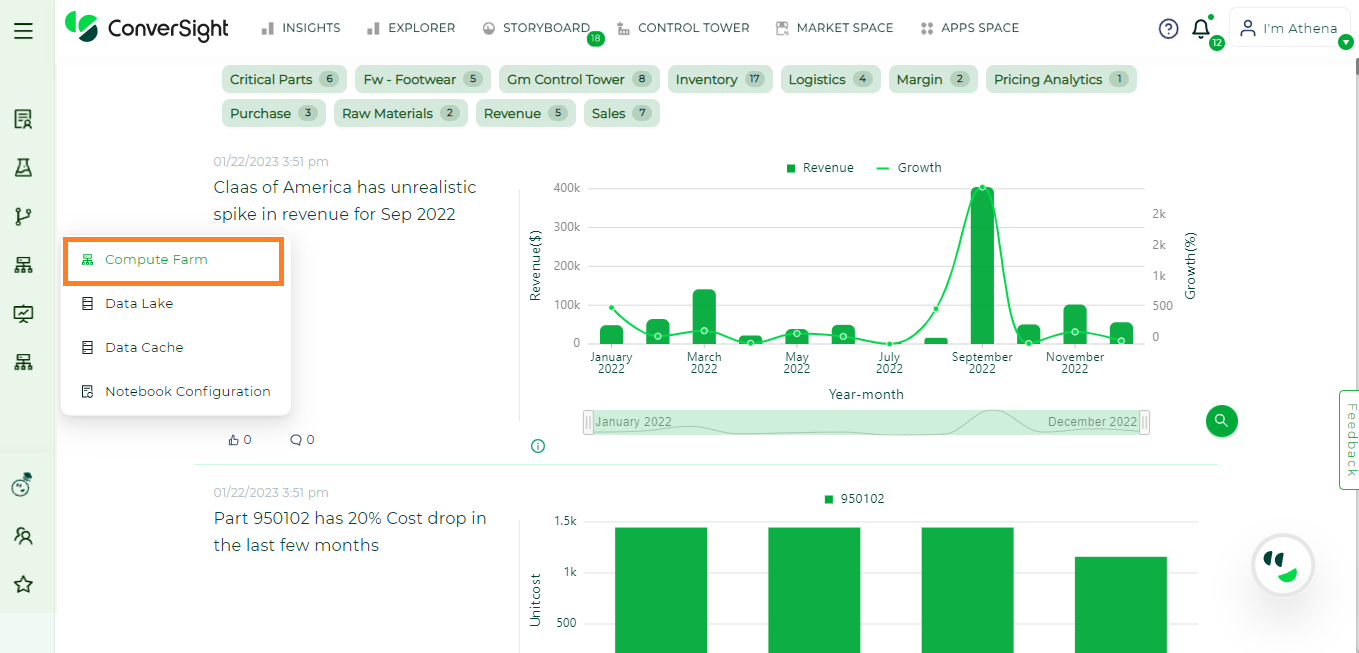
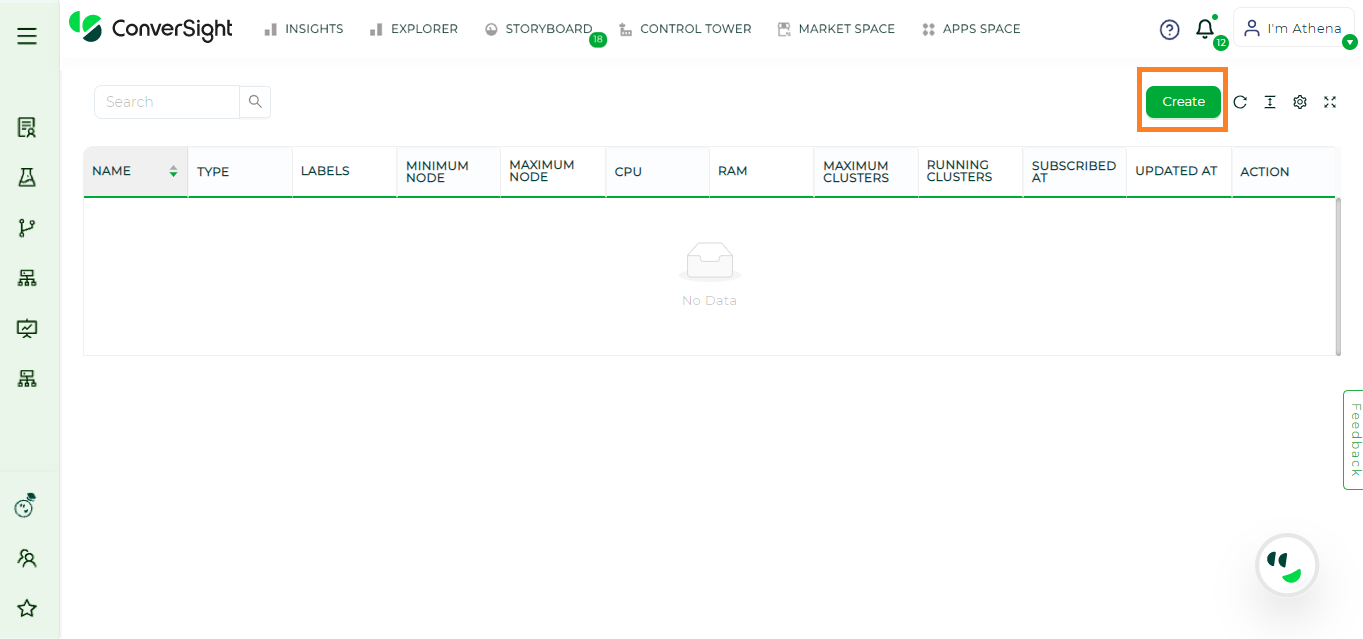
Navigate to the Compute Farm section. In the Compute Farm page, simply click on the Create button to initiate the creation process for a new Cluster.
Compute Farm#
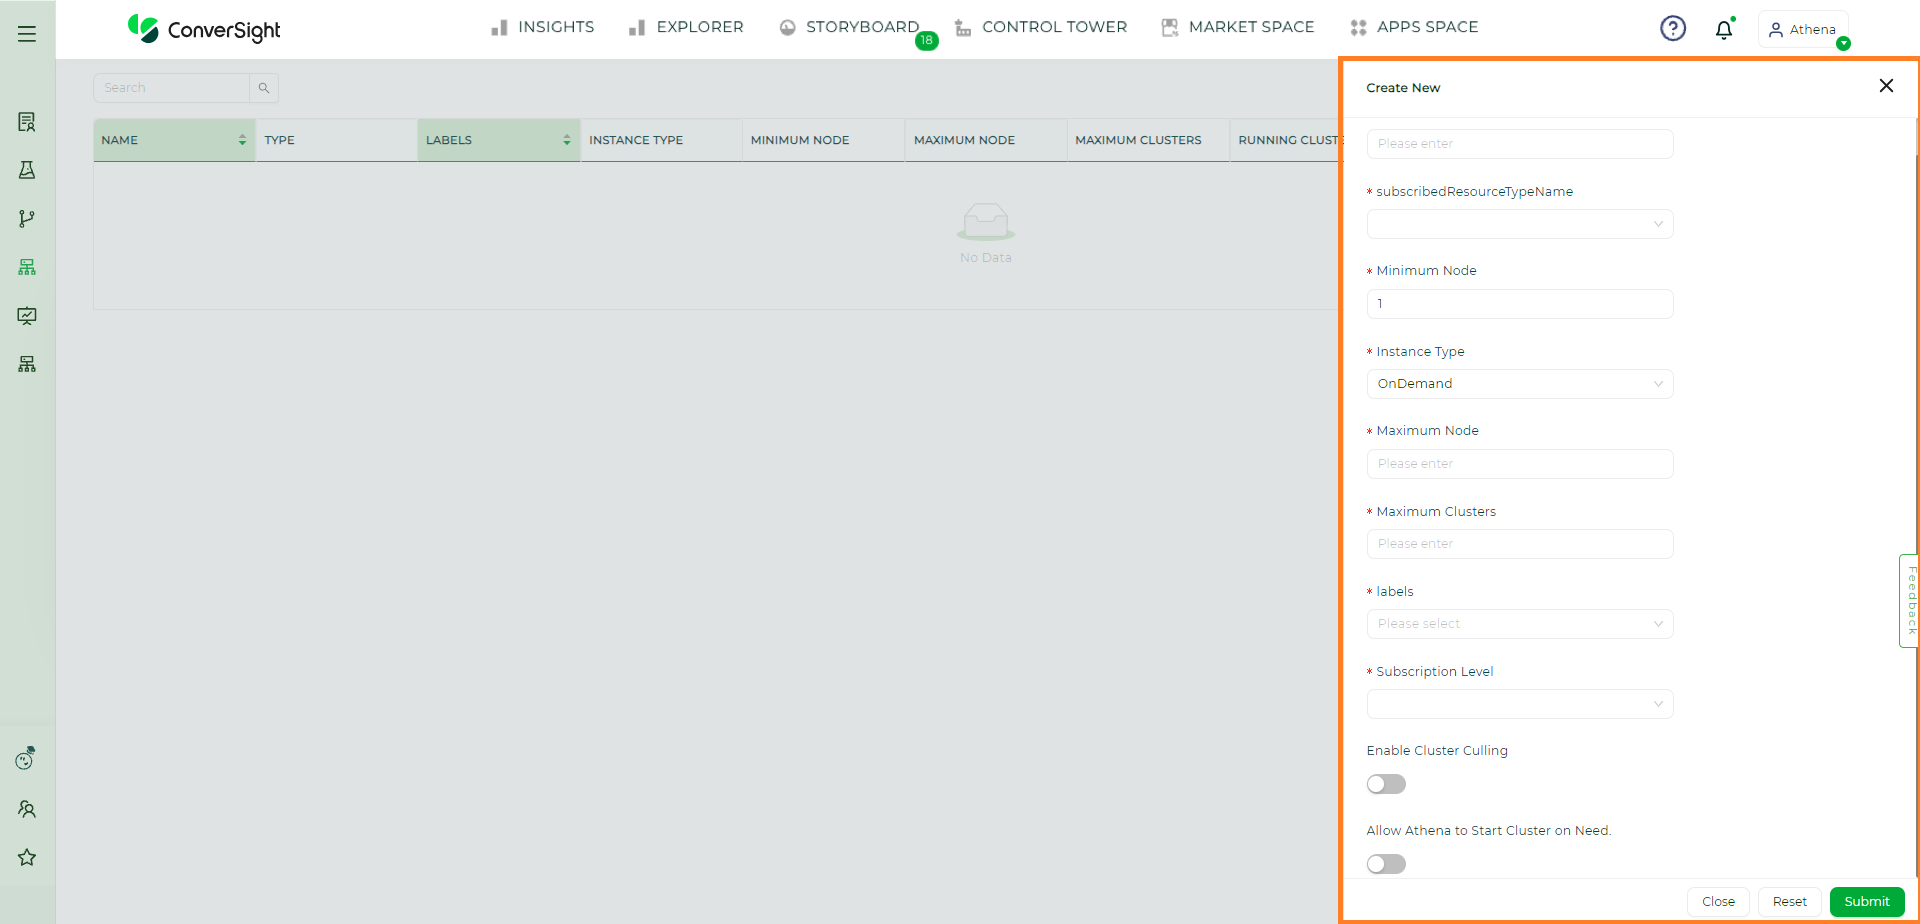
In Create New page, you will need to input the following information to create a Cluster:
Specification |
Description |
|---|---|
Cluster Name |
The Cluster name must be alphanumeric with length ranging from 3 to 32 characters. |
Cluster Type |
Cluster Type can also be customized based on the requirements. But the most commonly used one is Standard Computer Cluster which is a bit slower since it uses CPU Compute resources. Whereas, GPU compute Cluster is faster due to Graphical Processing Unit. |
Minimum Nodes |
Enter the minimum number of nodes required to run the flow. (a node is a single system responsible for storing and processing data). |
Instance Type |
Depending on the specific needs, users have the flexibility to choose between On-Demand instances or Spot instances. On-Demand instances are ideal for applications requiring uninterrupted, predictable availability whereas, Spot instances are suitable for flexible workloads that can tolerate interruptions. |
Maximum Nodes |
Enter the maximum number of nodes required to run the flow. |
Maximum Clusters |
Enter the maximum number of Clusters required to run the flow based on its size and complexity. |
Labels |
You can add label as per your requirement. |
Subscription Level |
There are three Cluster subscription levels. They are Platform Level(any customer can use this level of subscription - assigning one computer for all the users in all of the Organizations in same platform), Organization Level (this Cluster subscription level is organization specific - assigning one computer for all the users in Organization) and User Level (this Cluster subscription level is user-specific. In simple assigning one computer for one user only). |
Environment |
Users can customize the Notebook environment of their cluster. The Standard ConverSight Notebook provides essential packages for executing tasks, flows, CS Apps and conducting basic analytical operations. The Machine Learning Notebook is tailored for advanced analytics and machine learning operations. |
Enable Cluster Culling |
When the Cluster Culling toggle is activated, users have the ability to specify a particular time for the automatic termination of a cluster. |
Allow Athena to Start Cluster on Need |
If this toggle is enabled, Athena will start a Cluster with the chosen subscription level. But it starts, only when there is no cluster running on the subscription level chosen. |
Cluster Creation#
Once you have entered all the required information on the Create New page, you can create the cluster by simply clicking on
 button.
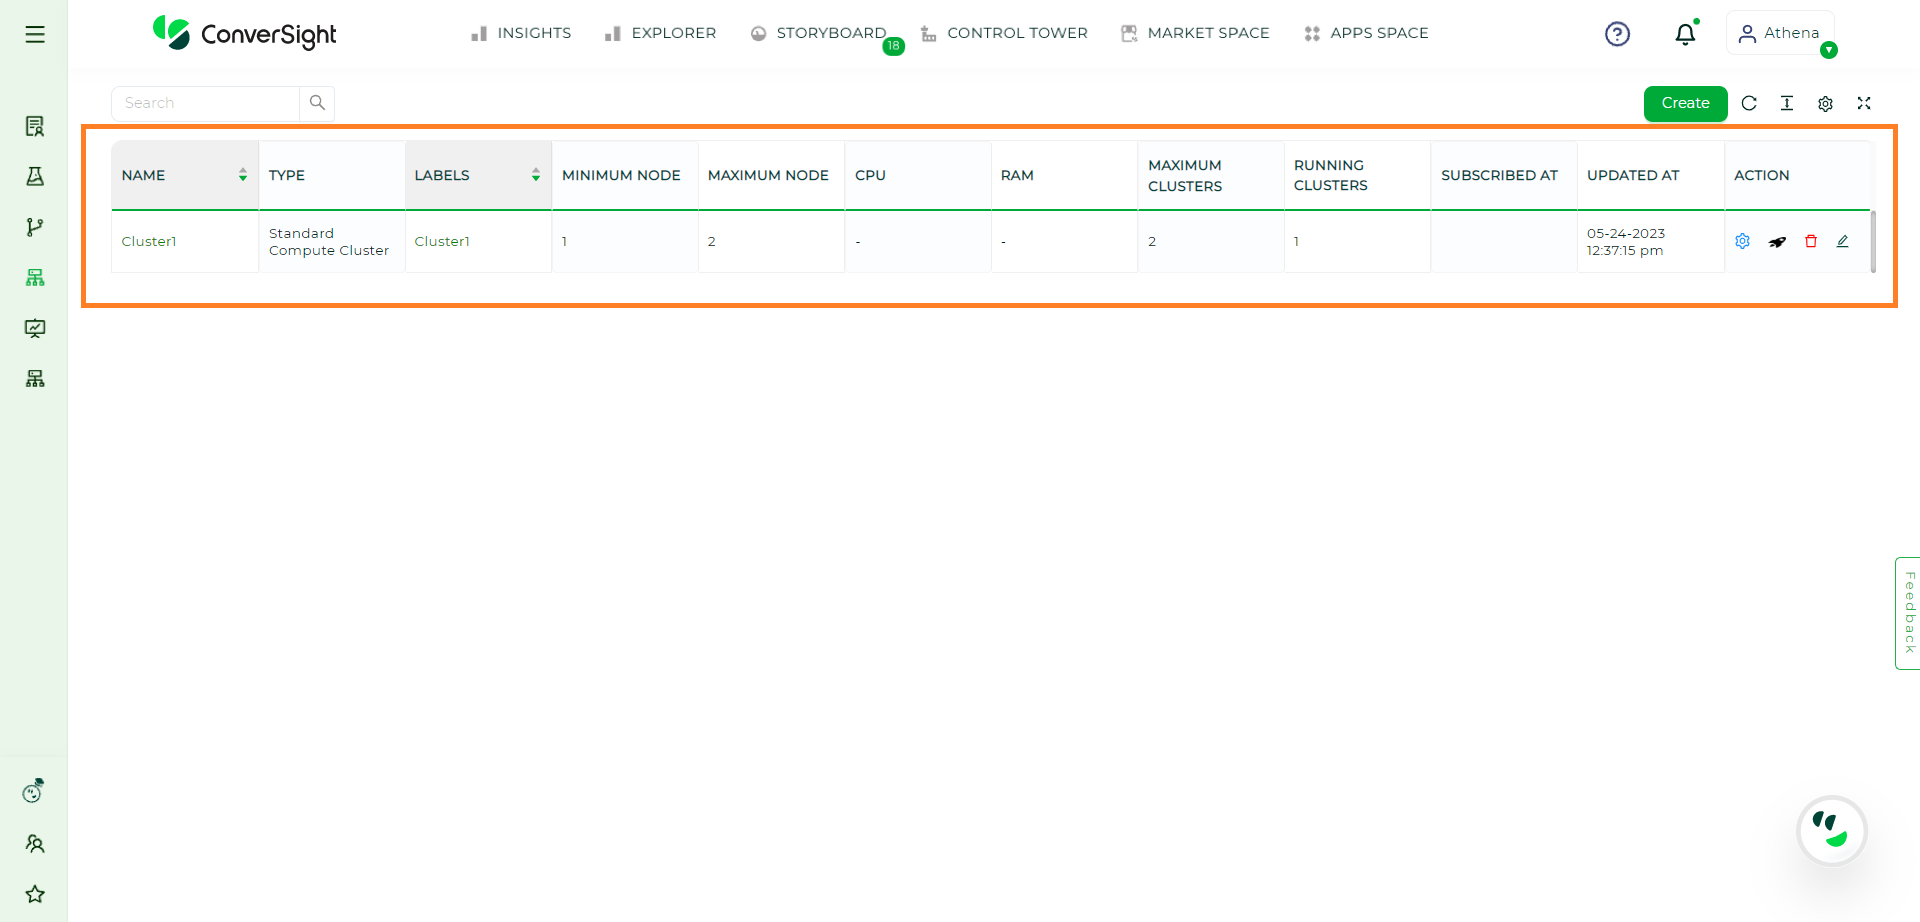
Cluster Created#
Start a Cluster#
In the User Interface, a Cluster can be initiated manually. However, if we have configured Athena to initiate the cluster based on specific requirements, it will automatically initiate the cluster when needed.
To initiate the Cluster manually, the user can simply click on  icon located in the Action column.
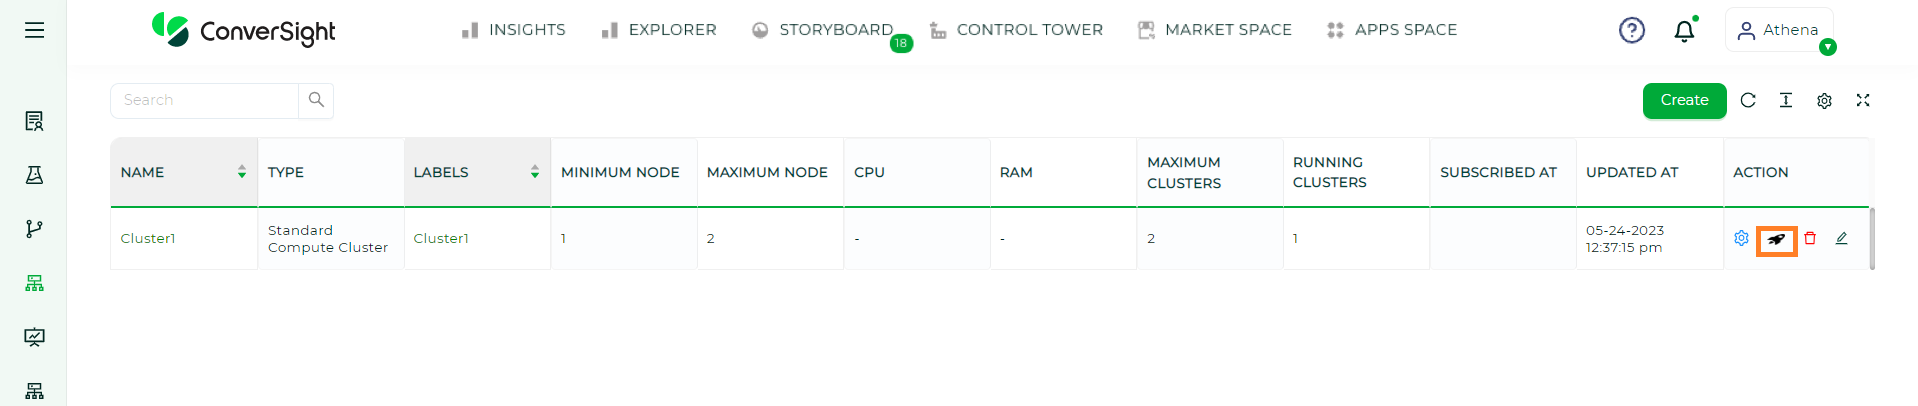
Start a Cluster#
Manage Clusters#
Users can manage their clusters by accessing the
 icon in the Action field and selecting Manage Cluster option.
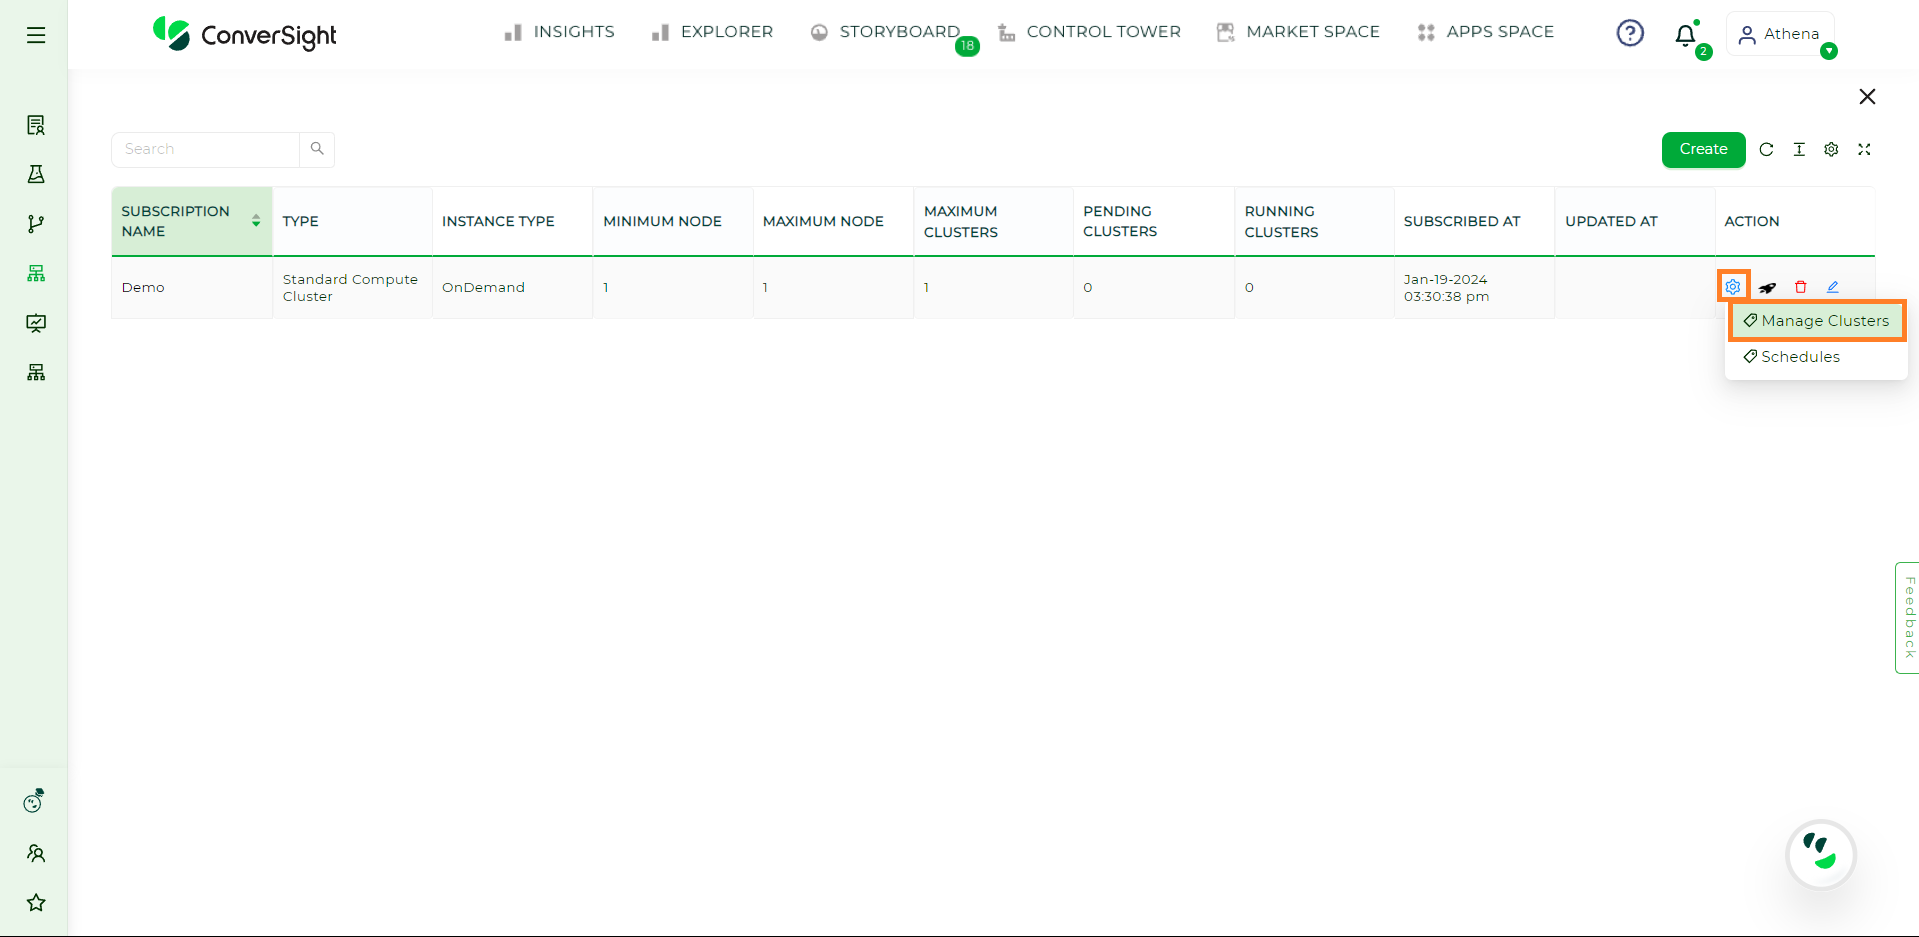
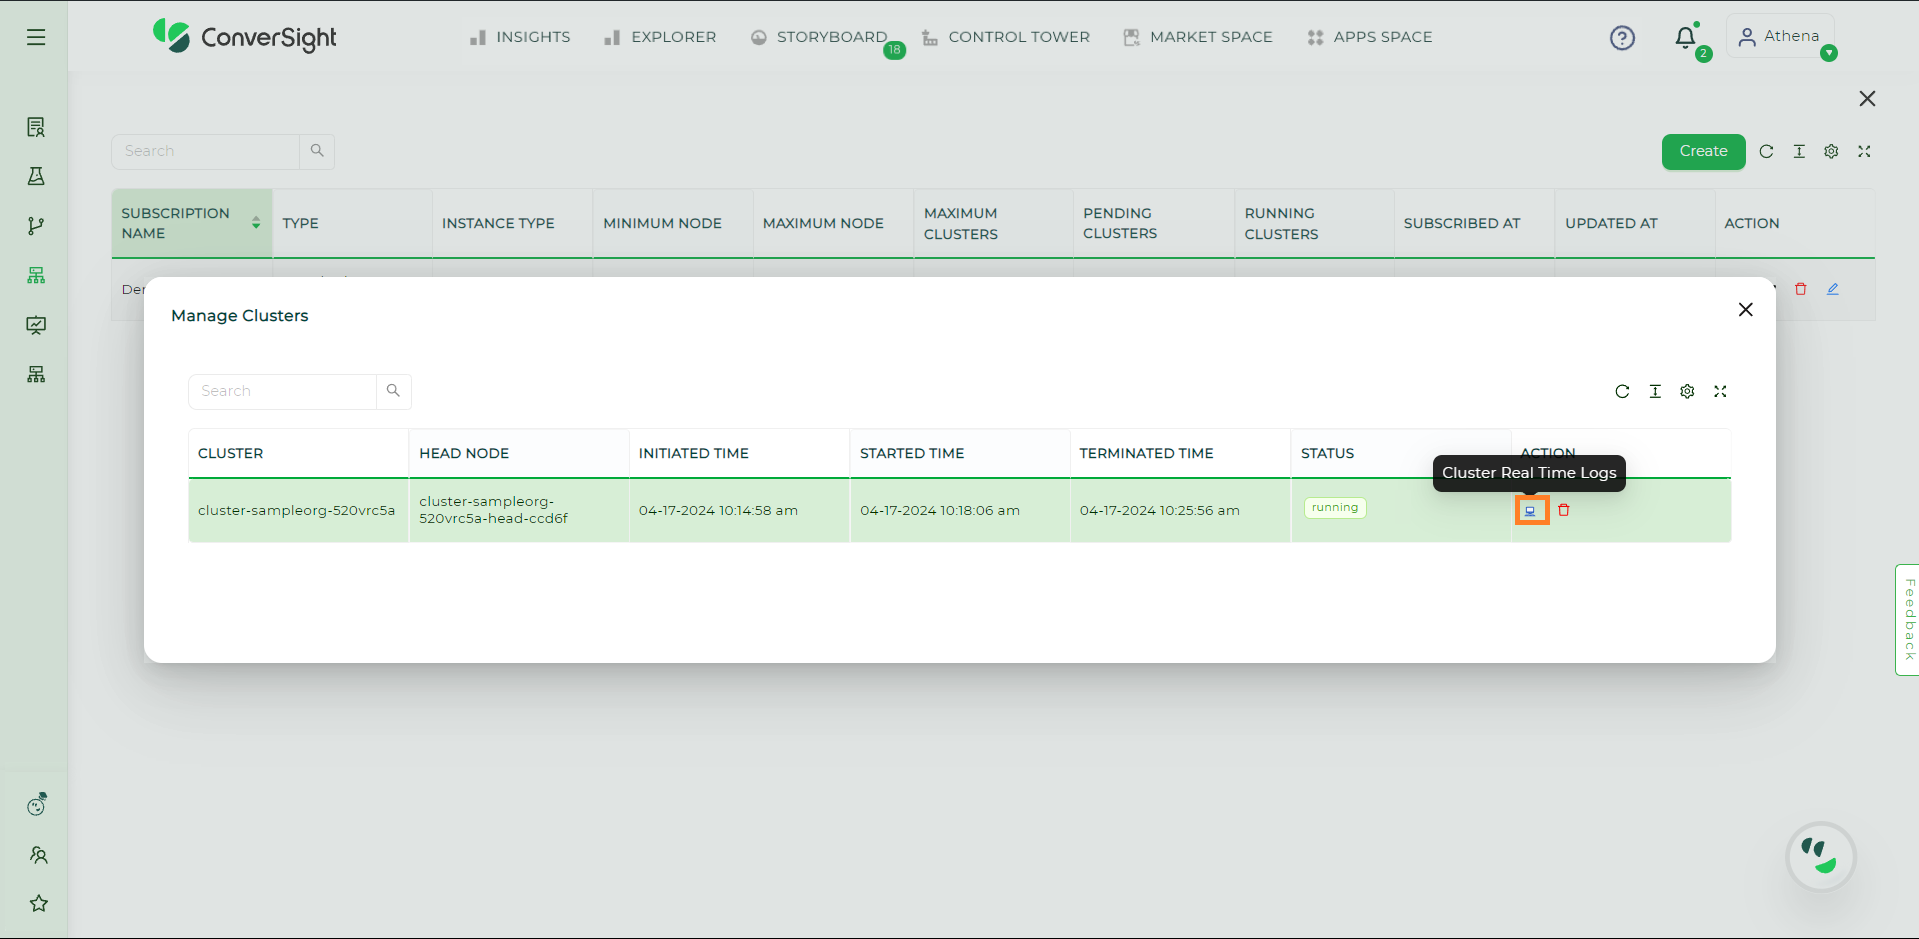
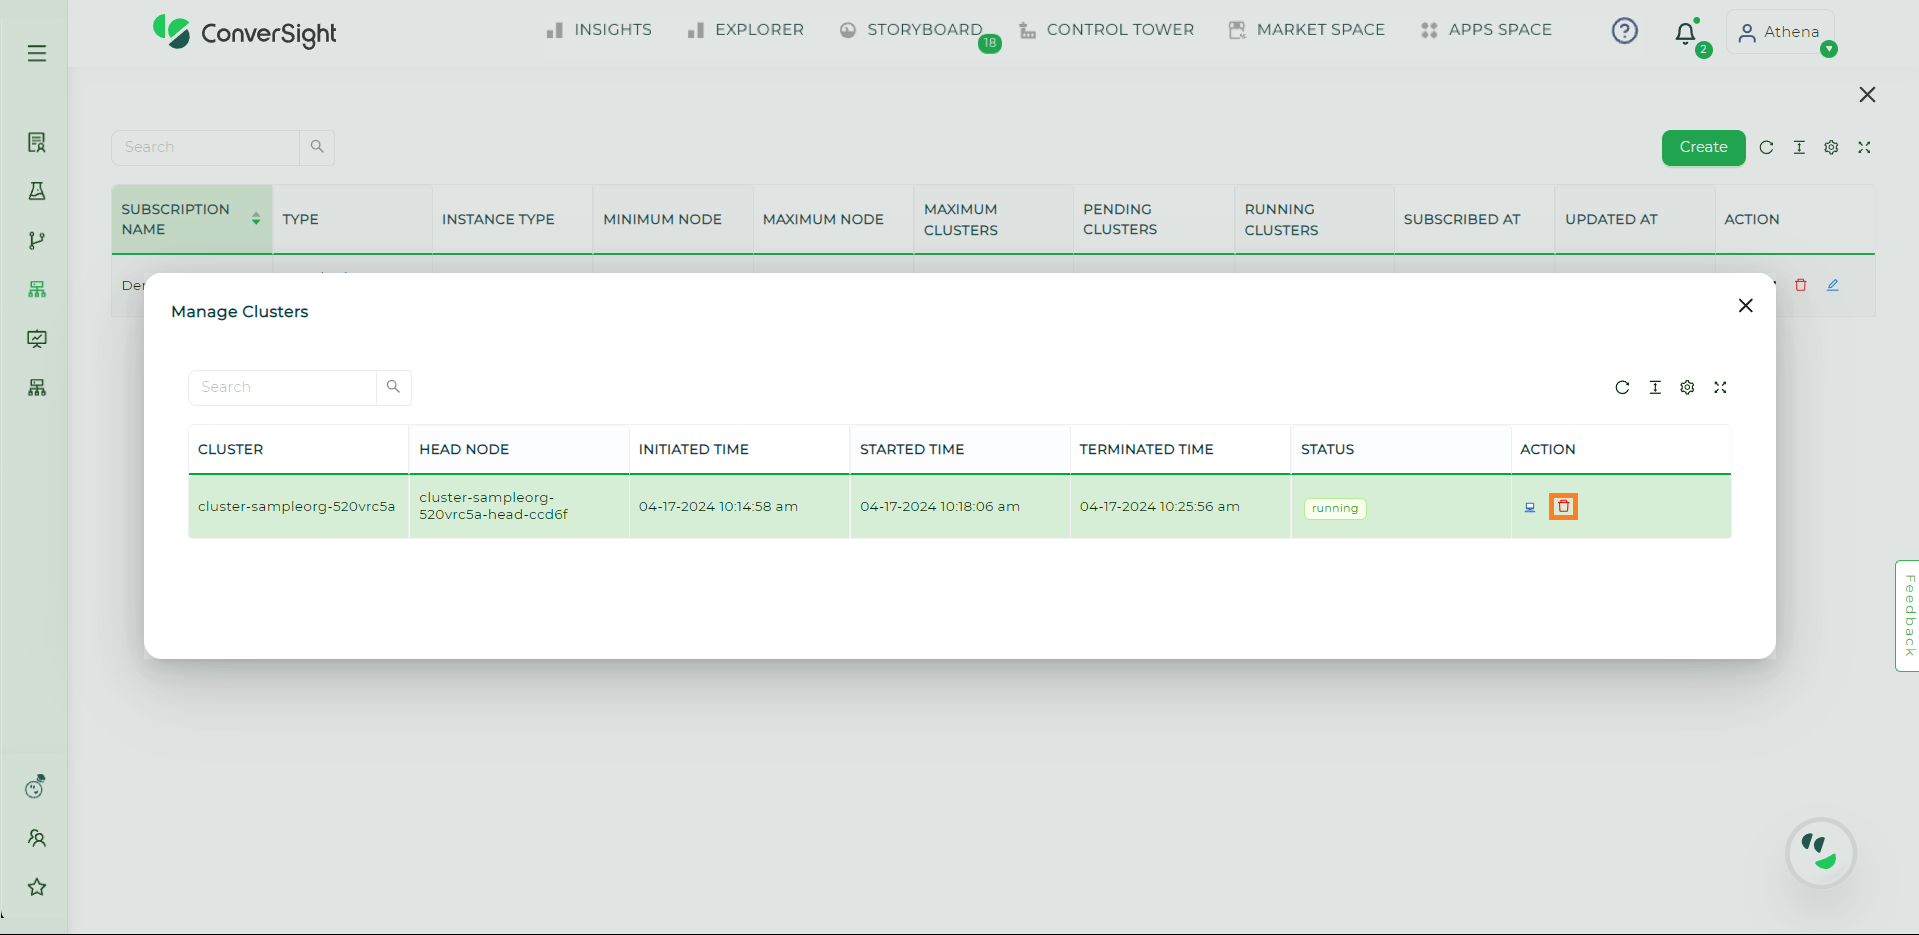
Manage Cluster#
In the Manage Cluster page, you will find a list of Clusters along with their respective details, such as Cluster name, head node, Cluster initiation time, Cluster start time, Cluster terminated time, status and action field. The status indicates whether a Cluster is currently running or terminated.

Manage Cluster#
Accessing Logs of a cluster#
To access the logs for a specific cluster, click on the
 icon in the Action column.
Cluster Real Time Logs#
The logs offer real-time records of events occurring throughout the cluster’s operations, from its initiation to termination.
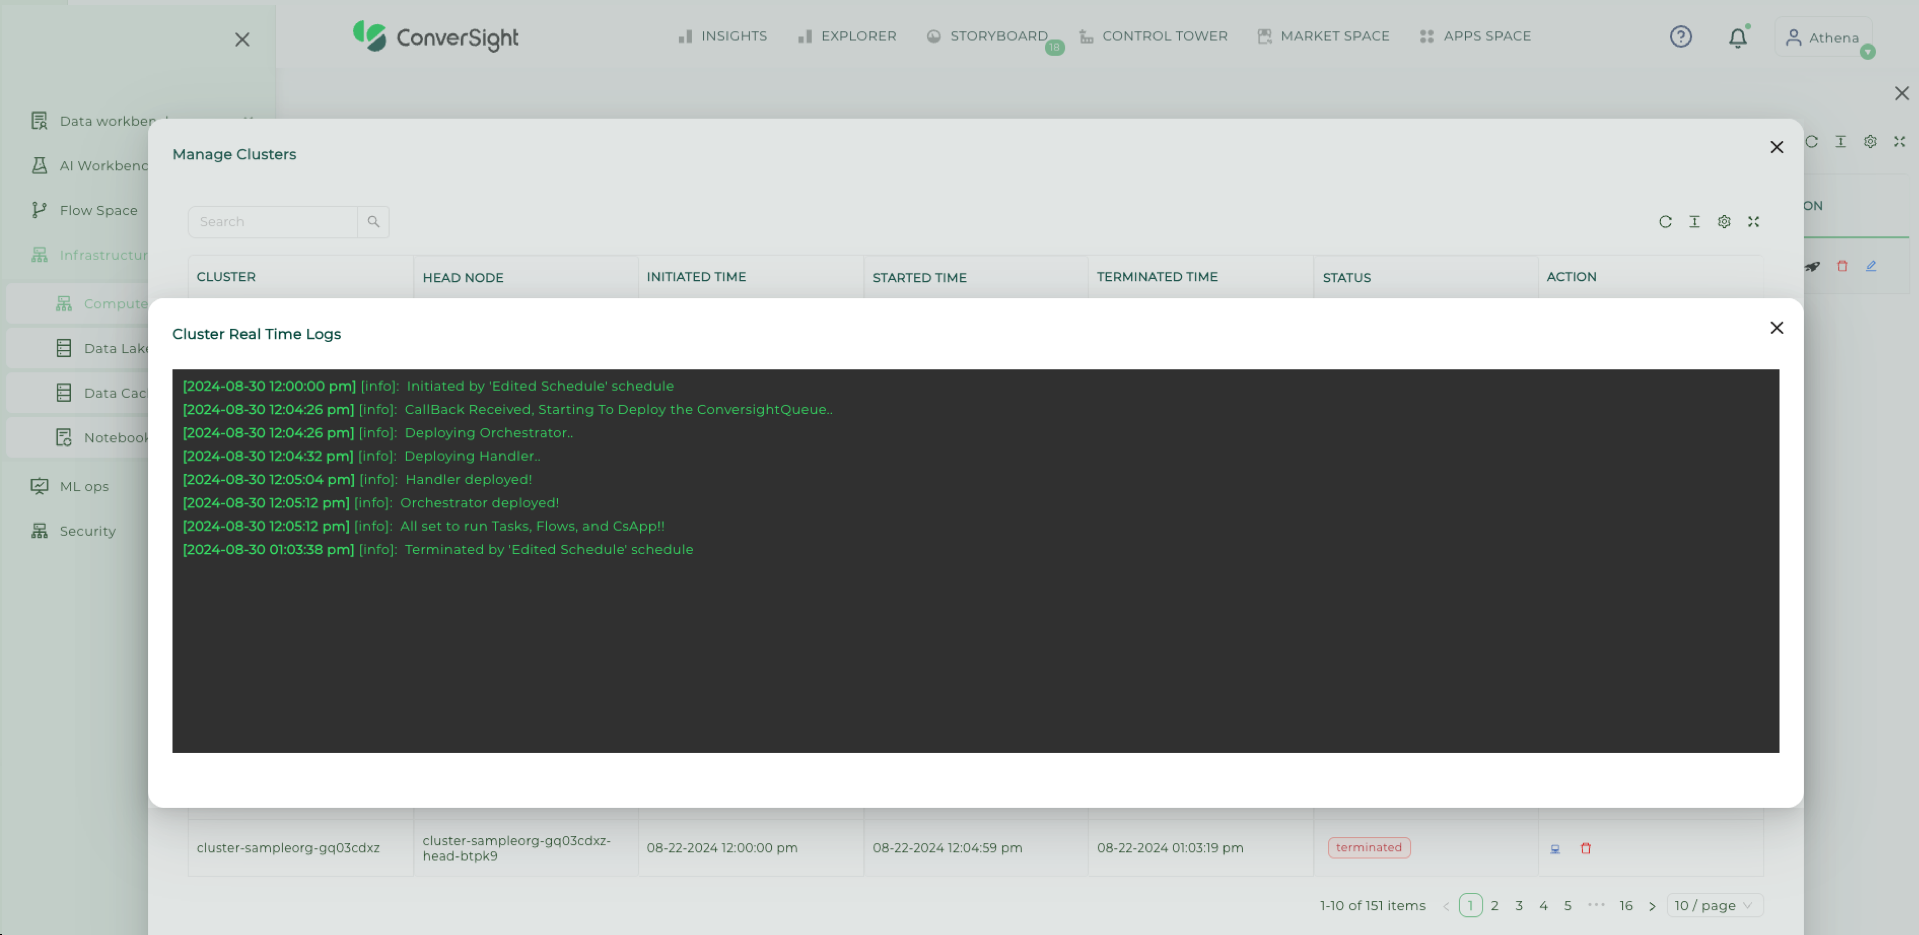
Cluster Real Time Logs#
Terminate a cluster#
To terminate a cluster, simply click on
 icon located in the Action field and the cluster will be terminated.
Delete Cluster#
When a Cluster is created with a specified culling duration, it will be terminated automatically once the culling time surpasses the designated limit.
Schedules#
The user has the flexibility to determine when a cluster should start and terminate through a scheduled time interval.
To set up a schedule for a cluster, click on the Settings icon under the action column of the specific subscribed resource and select the schedule option. This action will lead to the Schedules page.

Schedules Option#
Create#
To create a schedule, click on the Create button in the Schedules page.
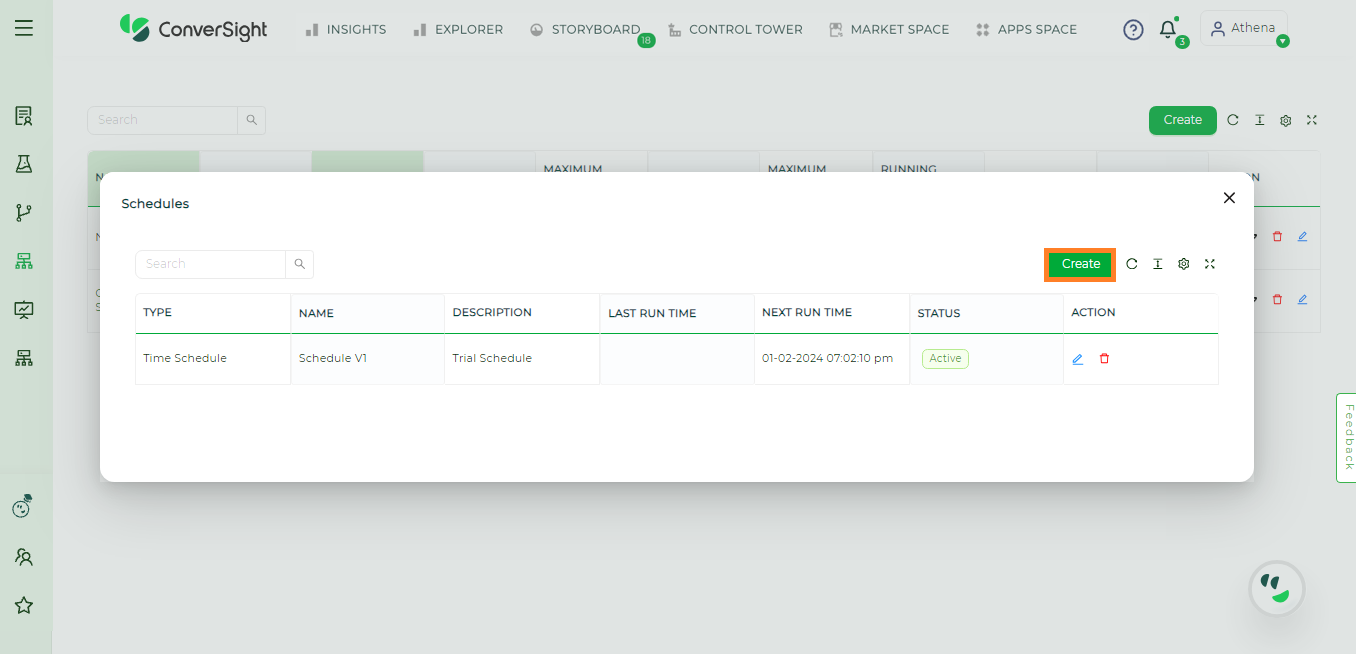
Schedule Creation#
The following are the input arguments required to create a Schedule.
Argument |
Description |
|---|---|
Name |
Provide a name for the Schedule. |
Description |
Textual explanation that provides context, details or information about the Schedule. |
Set Recurrence |
Specifies whether the Schedule must occur Hourly, Daily, Weekly or Monthly. |
Start Cluster |
Starts the Scheduled Cluster. |
Terminate Cluster |
Terminates the Scheduled Cluster. |
Force Terminate |
Terminates the cluster regardless of active Flows and CS Apps. |
Active |
This toggle allows you to activate or deactivate the schedule. |
Once you have entered all the required information on the Create Schedule page, you can create the Cluster Schedule by simply clicking on the Submit button.
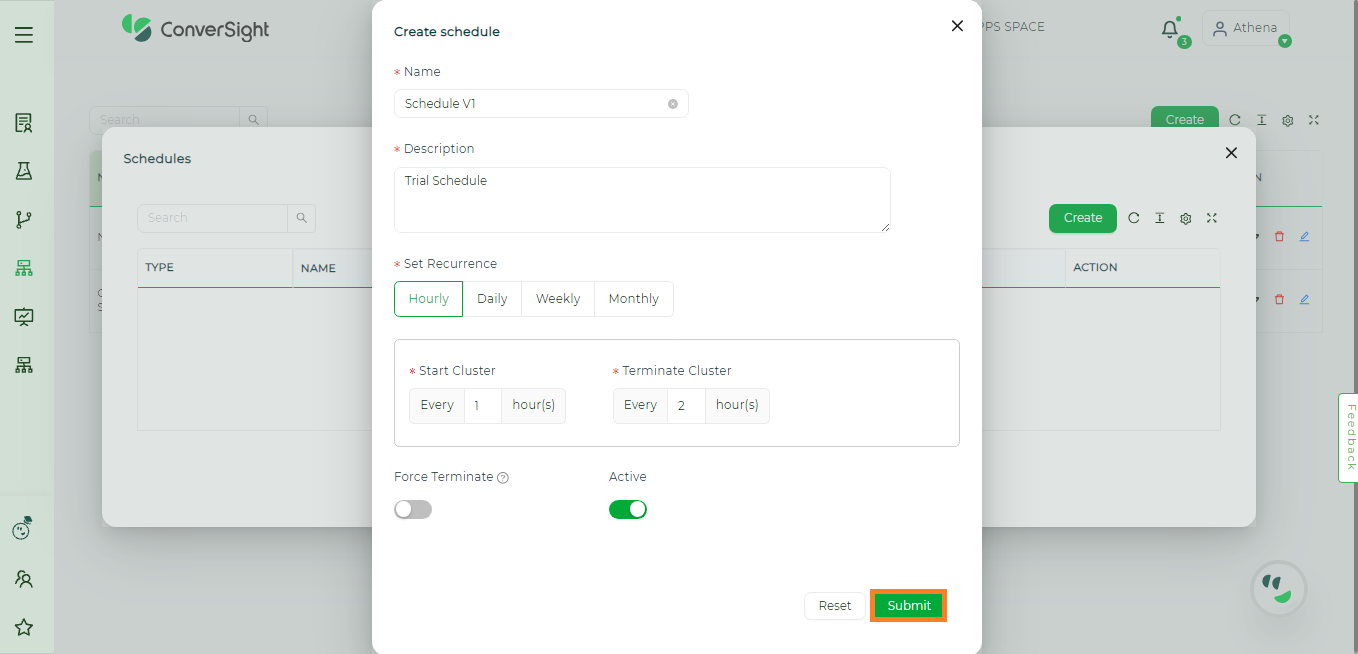
Schedule Creation#
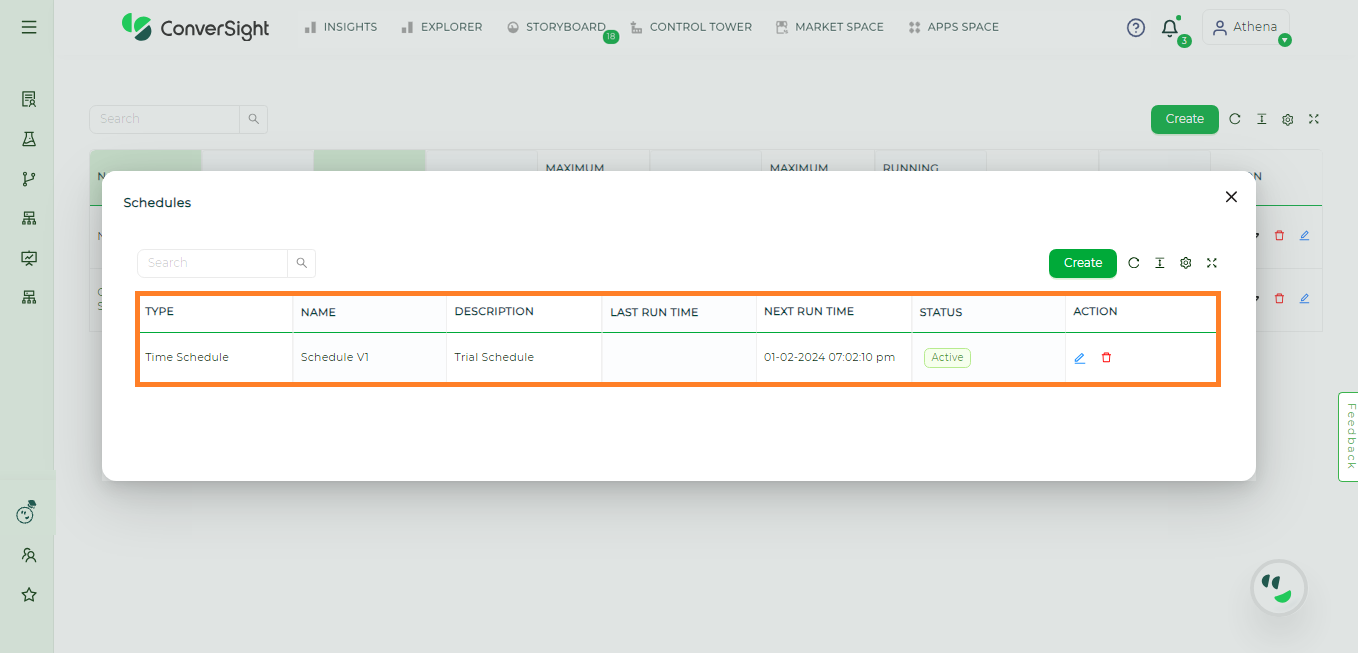
Schedule Created#
Edit#
Users have the flexibility to adjust any inputs within the Schedule, enabling them to modify and update the details according to their requirements. Now, let’s delve into the steps involved in editing a cluster schedule.
Edit the existing schedule details just by clicking on the Edit icon.
Editing Schedule#
Once done, click on the Submit button to save the changes.
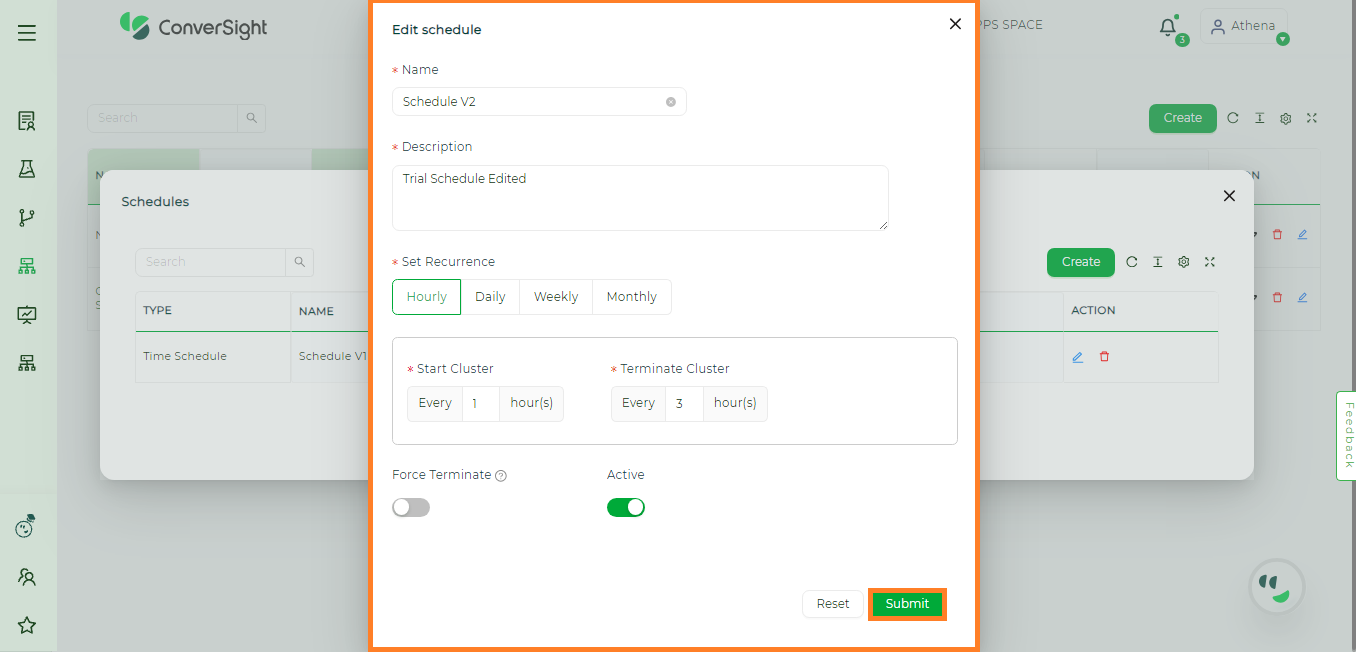
Editing Schedule#
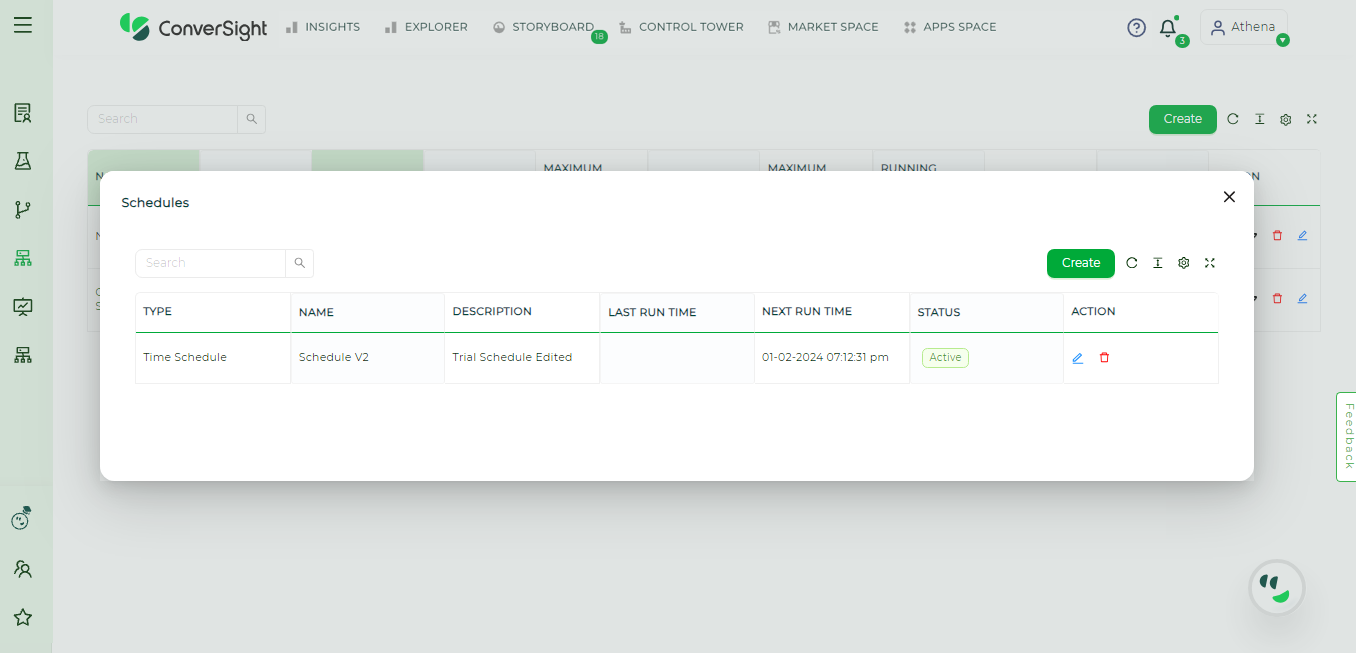
Edited Schedule#
Delete#
Click on the Delete icon to delete the schedule.
Deleting Schedule#
Edit#
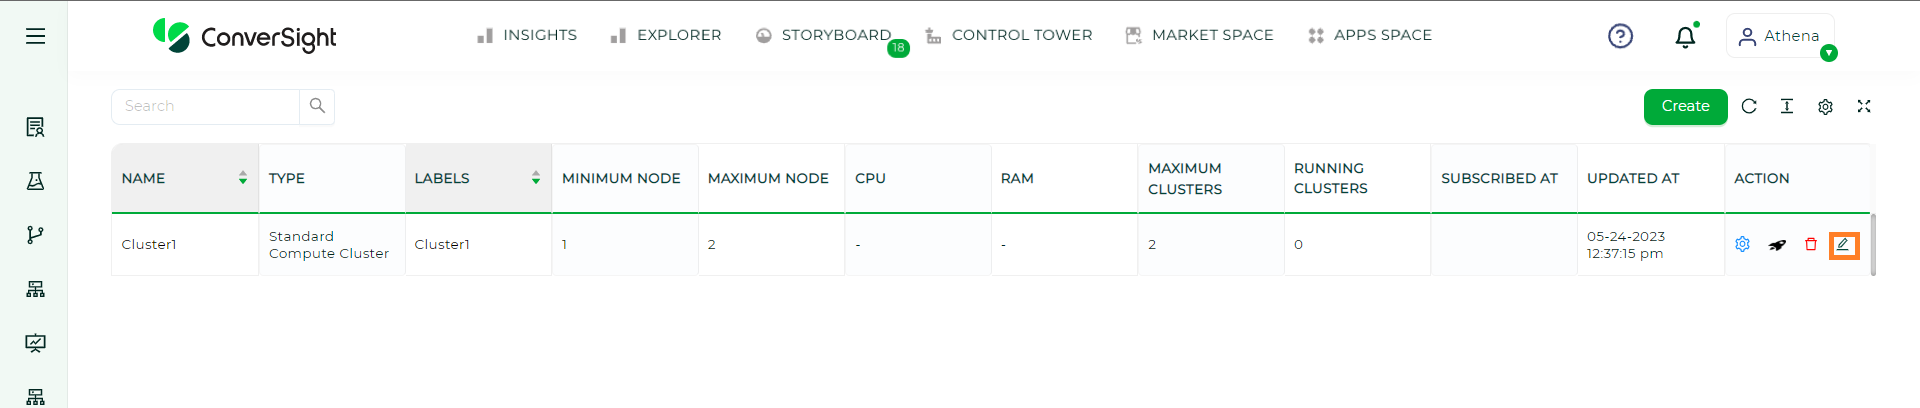
The users has complete privileges to modify all the inputs within the cluster, allowing them to change and update the Cluster details as needed. Now, let’s learn the process of editing a Cluster.
Edit the existing Cluster details just by clicking on
 icon.
icon.
Edit Cluster Page#
Once done, click
to save the changes.
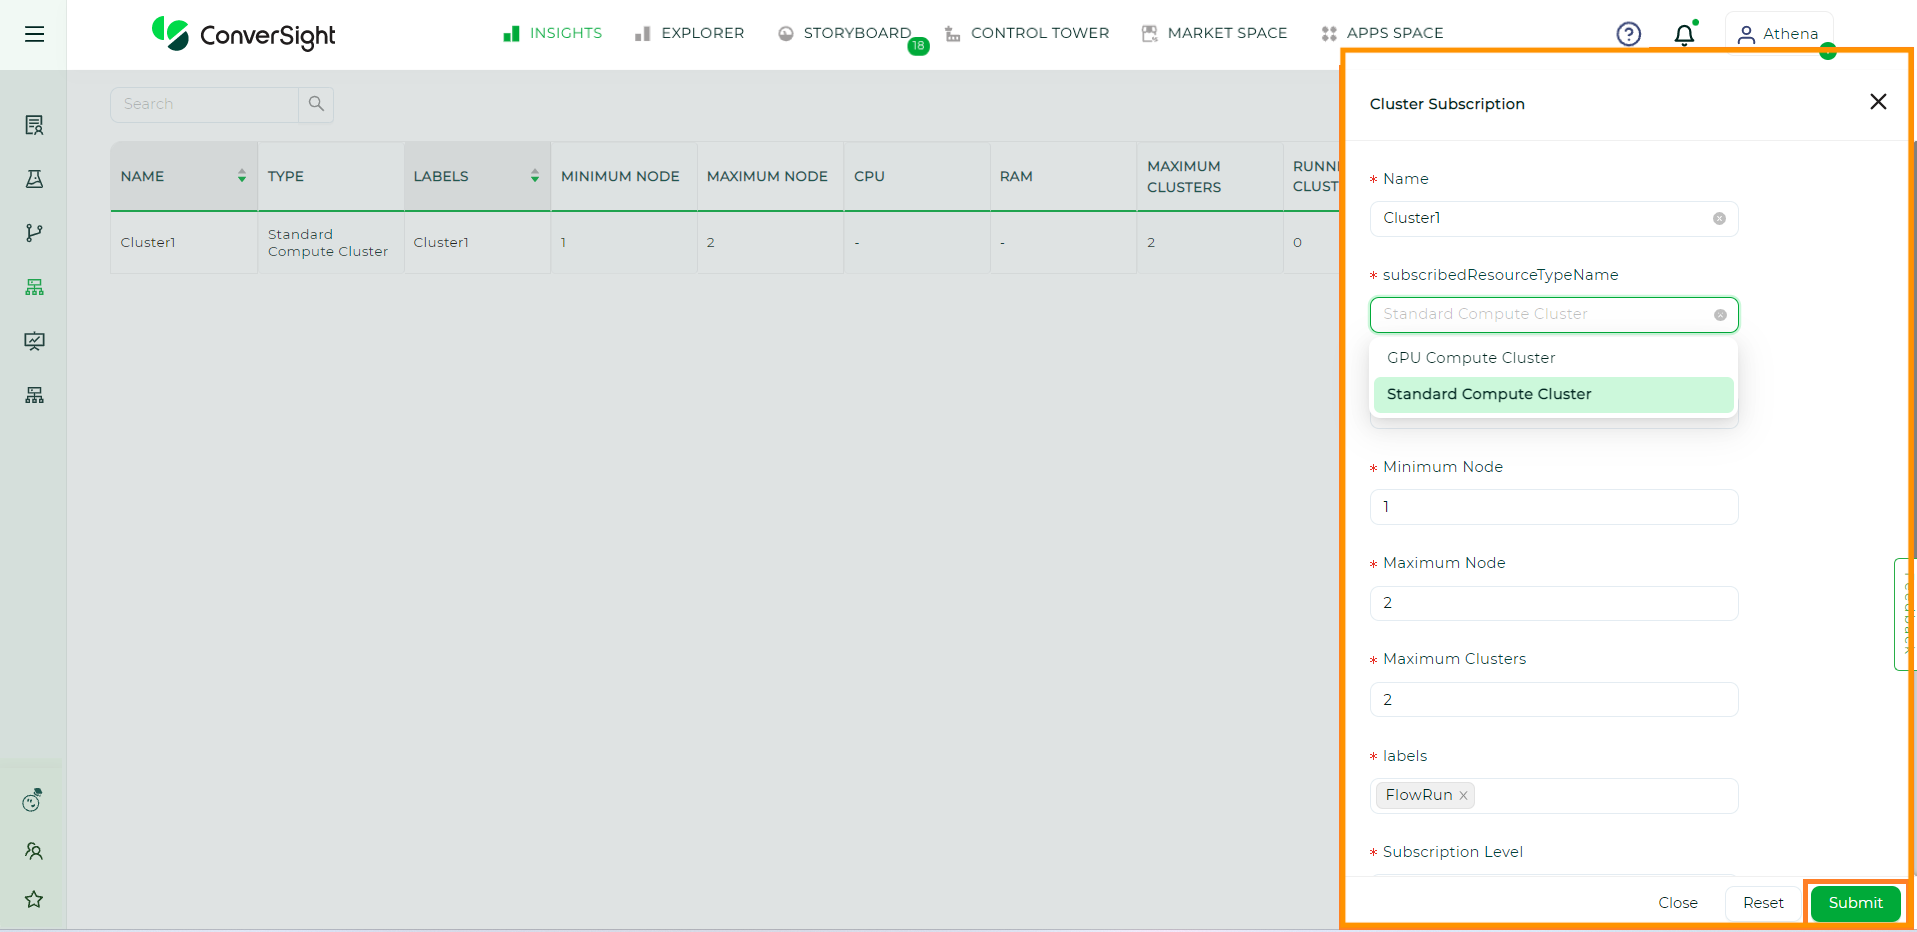
Edit Cluster Page#
Delete#
Cluster can be deleted by clicking on icon associated with the respective cluster.

Delete Cluster#
NOTE
Deleting a cluster associated with a flow is restricted.
To watch the video, click on Compute Farm.
Data Lake#
Data Lake represents a centralized repository intended for storing, processing and ensuring the security of substantial volumes of structured and unstructured data. It possesses the capability to retain data in its raw format and seamlessly process it, regardless of its size, offering a robust and efficient solution for data management and analysis.
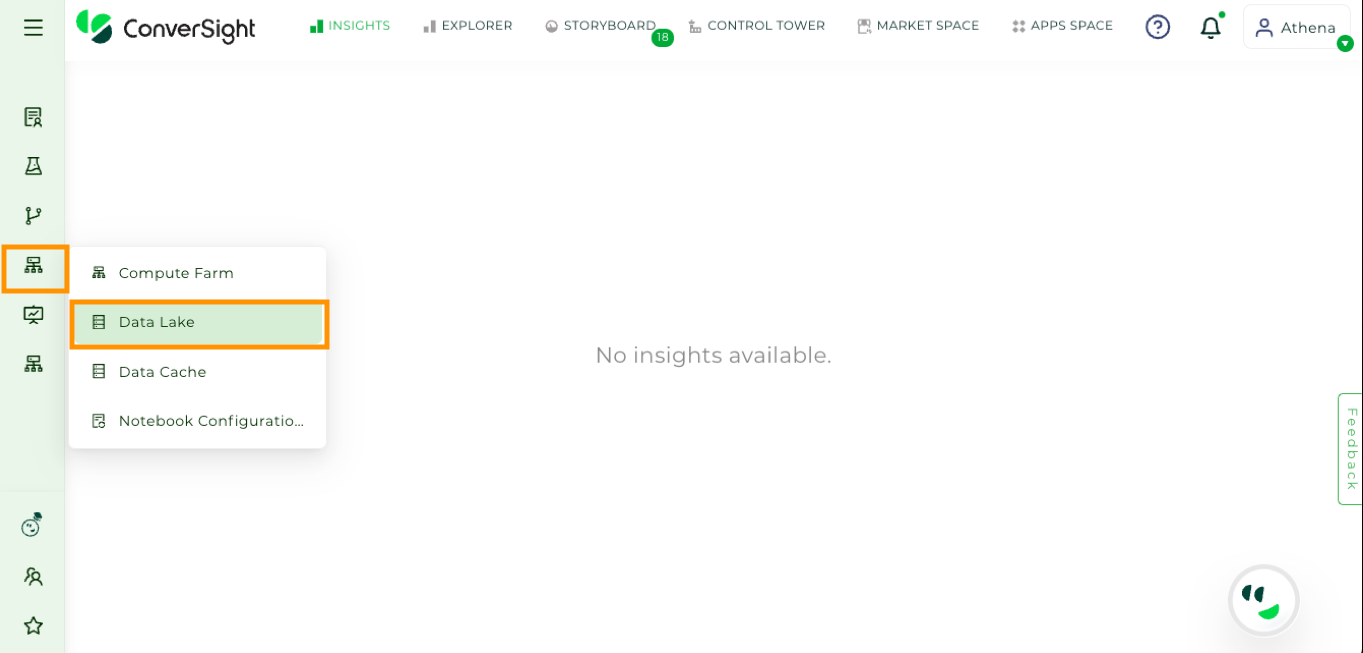
Accessing Data Lake#
Accessing Data Lake#
To access the Data Lake in the ConverSight Platform, navigate to the configuration section and select Data Lake under Infrastructure Management.

Data Lake#
Creating Data Lake#
Now let’s explore the necessary steps to create a Data Lake.
On the Data Lake page, simply click on the Create button to initiate the creation process for a new Data Lake.
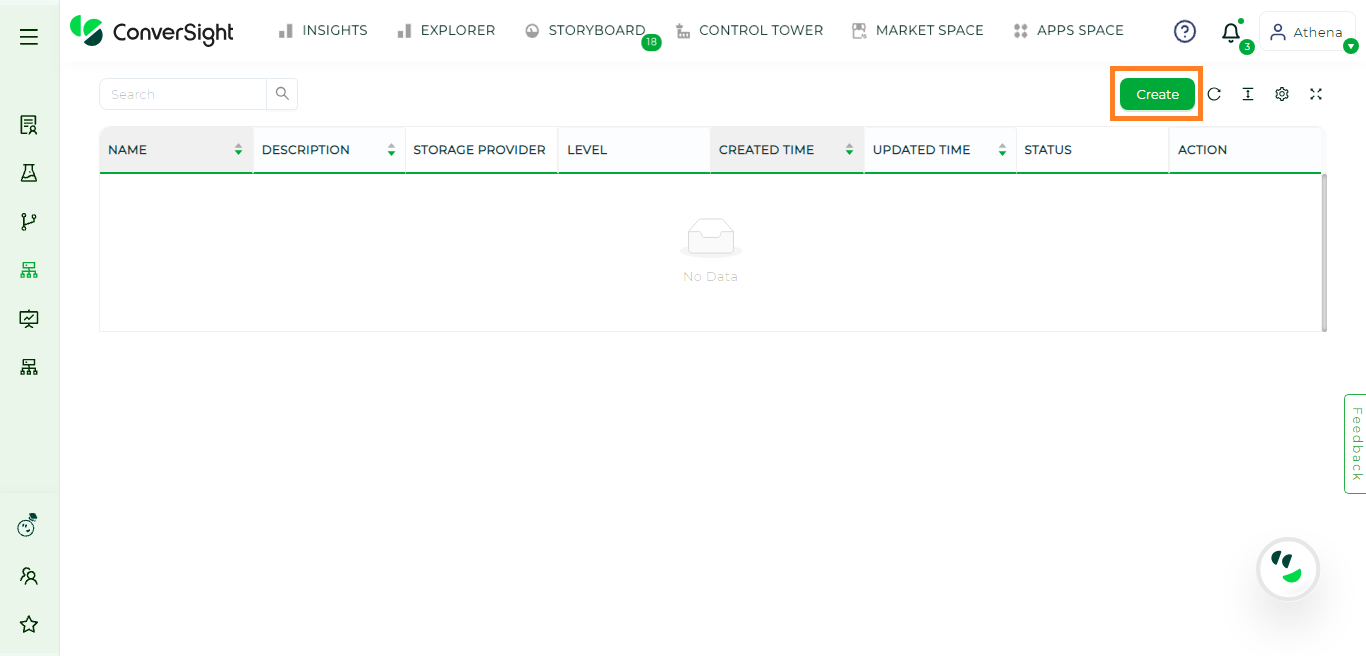
Creating Data Lake#
On the Create New page you, will need to input the following information to create a Data Lake.
Specification |
Description |
|---|---|
Name |
Provide a name for the Data Lake. |
Description |
A Description provides clarity and guides others to a better understanding. |
Storage Provider |
Select the appropriate storage provider from the dropdown menu. |
Basic |
Basic allows users to utilize the database of ConverSight. |
Advanced |
Advanced allows users to utilize their custom databases. |
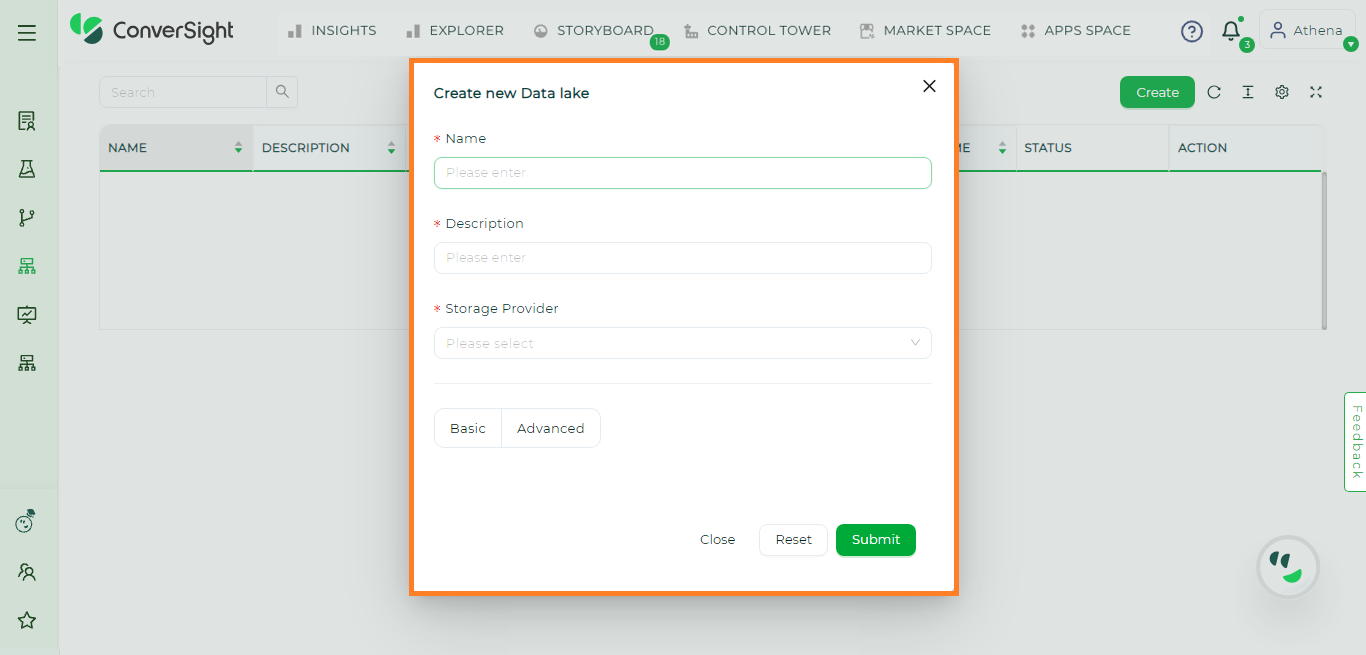
Create New Data Lake Dialog Box#
Once you have entered all the required information on the Create New page, you can create the Data Lake by simply clicking on the
button.
Edit#
Users have the complete privilege to modify all the inputs within the Data Lake, allowing them to change and update the Data Lake as needed. Now let’s learn the process of editing a Data Lake.
Edit the existing Data Lake details by clicking on the Edit icon.
Editing Data Lake Icon#

Editing Data Lake#
Once done, click
to save the changes.
Delete#
Data Lake can be deleted by clicking on icon associated with the respective Data Lake.
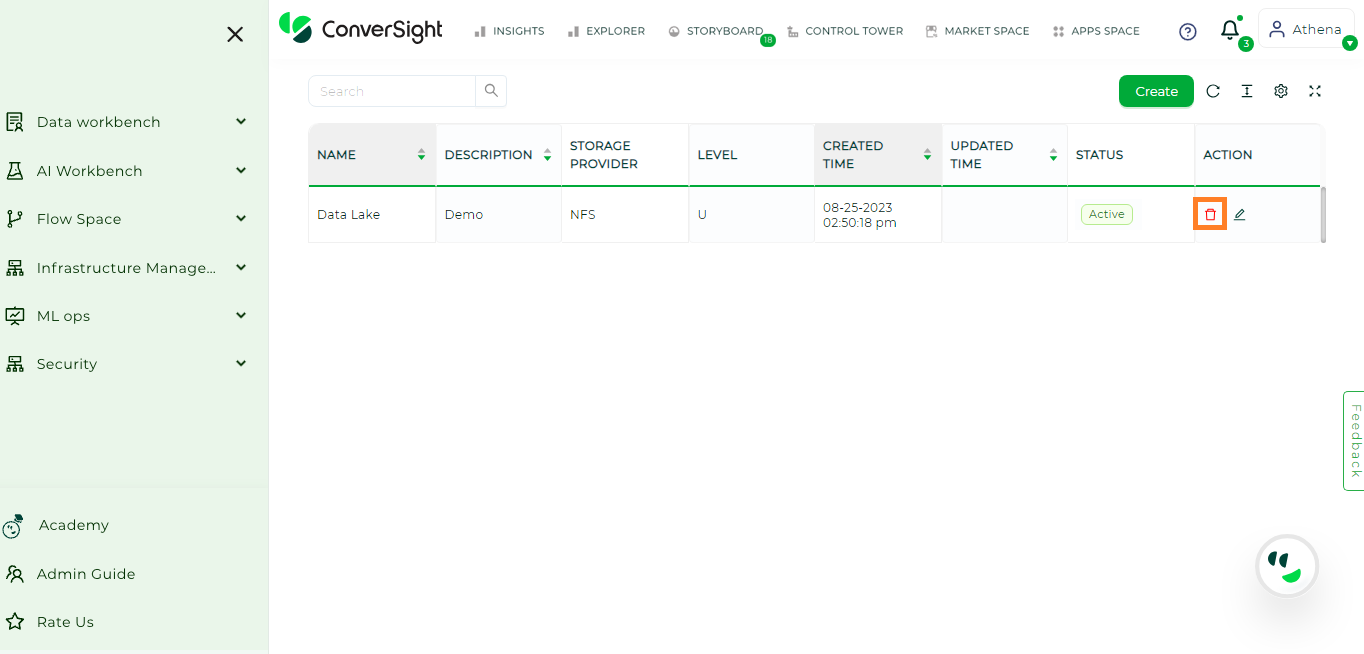
Deleting Data Lake#
In conclusion, a Data Lake acts as a secure and centralized repository for extensive structured and unstructured data. Its raw data retention and seamless processing capabilities make it an efficient solution for comprehensive data management and analysis.
To watch the video, click on Data Lake.
Data Cache#
Data Cache is a transient memory storage area that enables users to save their data within an instance, facilitating quicker access when needed. This enhances application performance and boosts efficiency. This helps us speed up the application performance and increase efficiency.

Data Cache#
Accessing Data Cache#
To access Data Cache in the ConverSight platform, navigate to Configuration section and select Data Cache under Infrastructure Management.
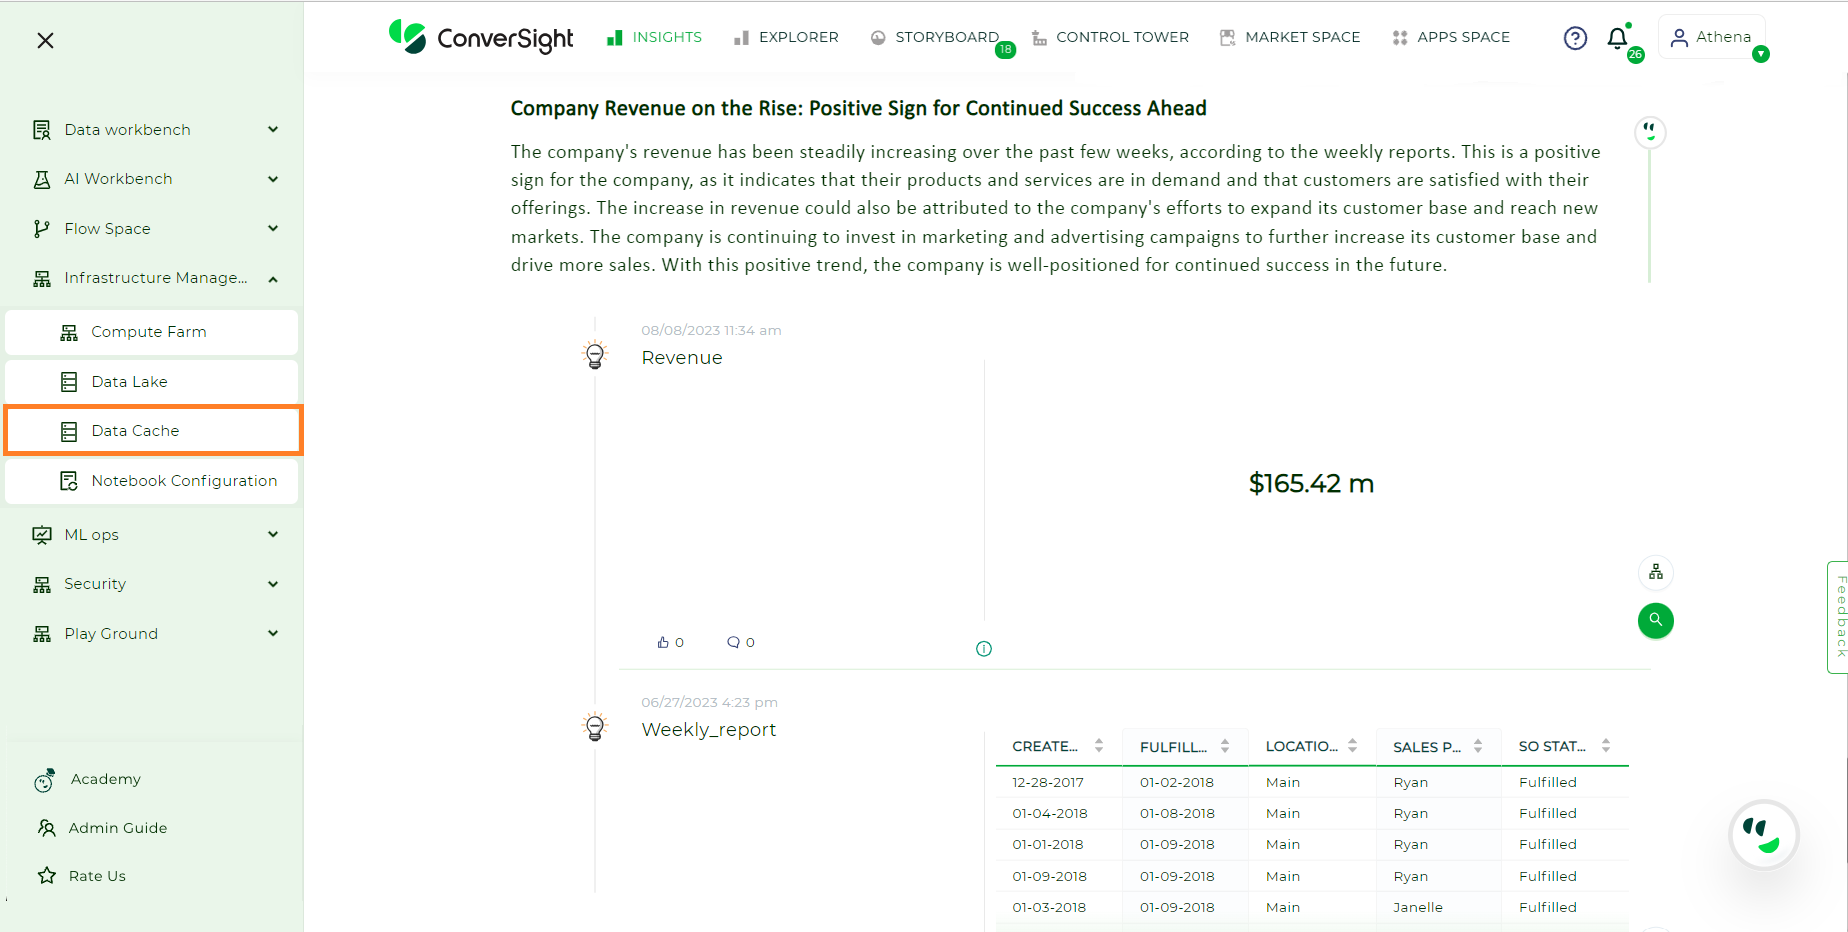
Accessing Data Cache#
Creating Data Cache#
Now, let’s explore the necessary steps to create a Data Cache.
On the Data Cache page, simply click on the Create button to create a Data Cache.
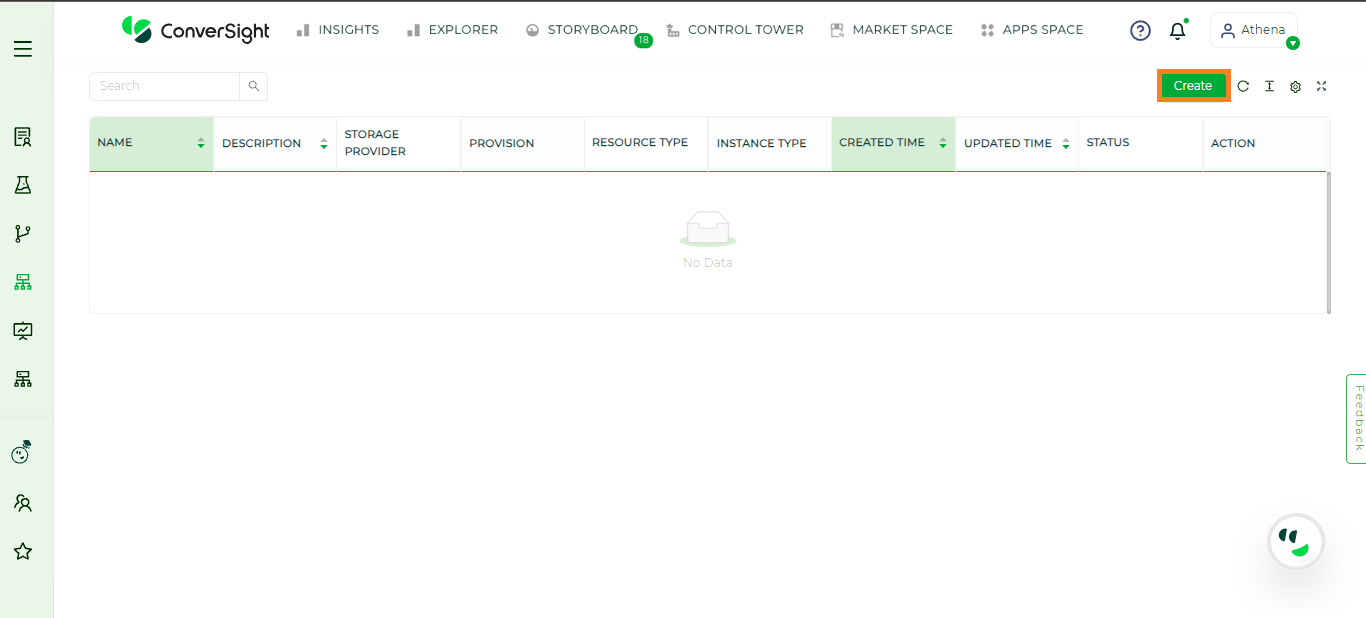
Creating Data Cache#
On the Create Data Cache page, provide the specifications of your Data Cache.
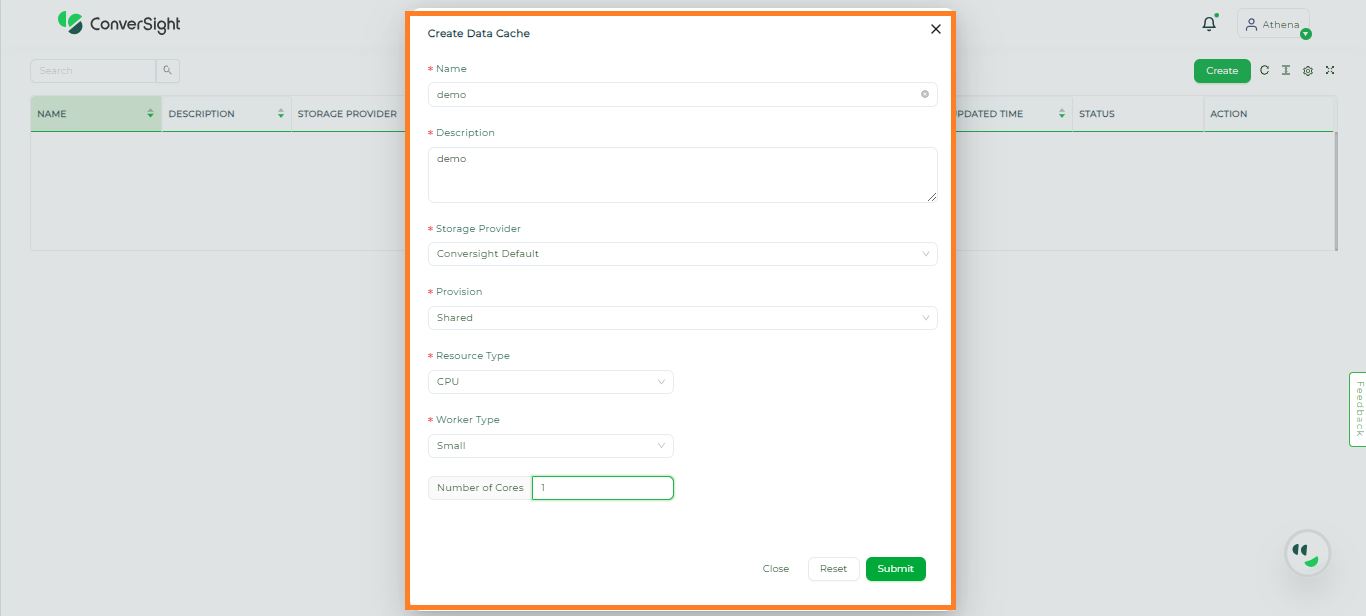
Create New Data Cache dialog box#
Specification |
Description |
|---|---|
Name |
Provide a name for the Data Cache. |
Description |
A description provides additional information about the data cache for better understanding. |
Storage Provider |
By default, ConverSight is the Storage Provider. |
Provision |
Users are provided with the option to select either Dedicated or Shared provisions. In the Dedicated mode, the instance is exclusively reserved for the organization where their data cache is stored while in the Shared mode, the data cache instance is shared among multiple organizations. |
Resource Type |
Users can customize the Resource type as CPU or GPU based on the requirements. |
Worker Type |
Depending on the memory space needs, users can opt for different worker types categorized as small, medium, large or extra-large. |
Number of Cores |
Based on the requirements, users can specify the number of cores for their data cache instance. |
Once you have entered the required data on the Create Data Cache page, you can create the Data Cache by clicking on the Submit button.
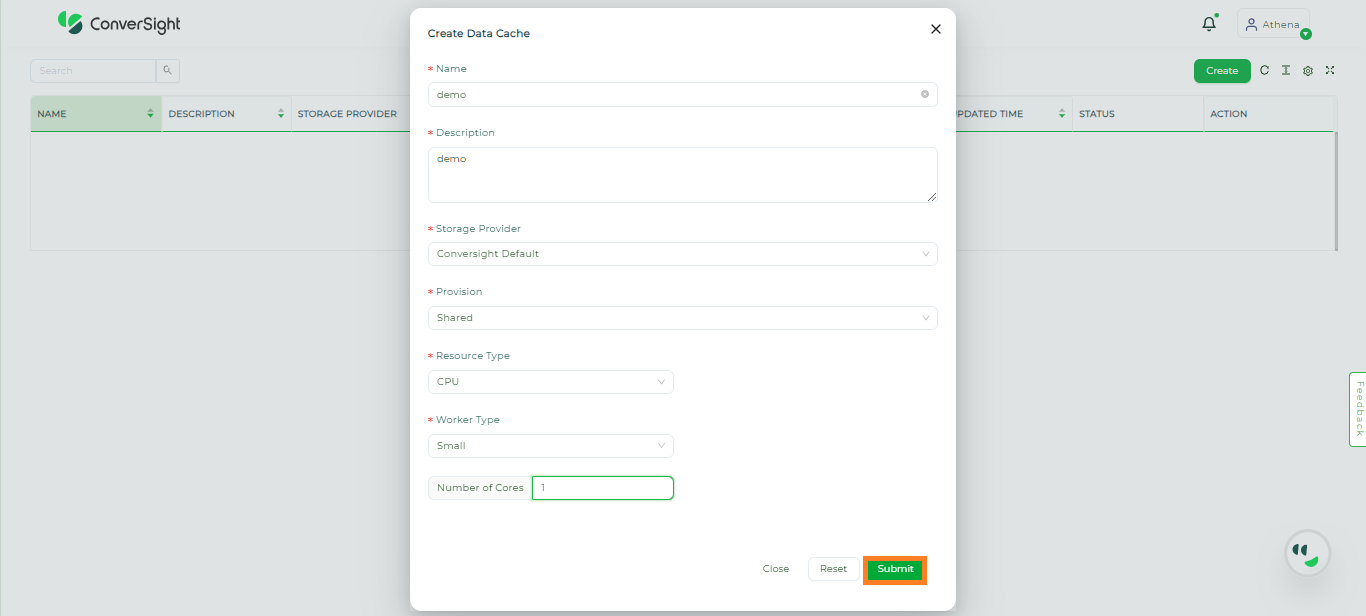
Creation of Data Cache#
Edit#
Users have the flexibility to modify the Data Cache specifications at any time, enabling them to adapt to changes in their requirements.
Click on the Edit icon to modify the specifications of the Data Cache.
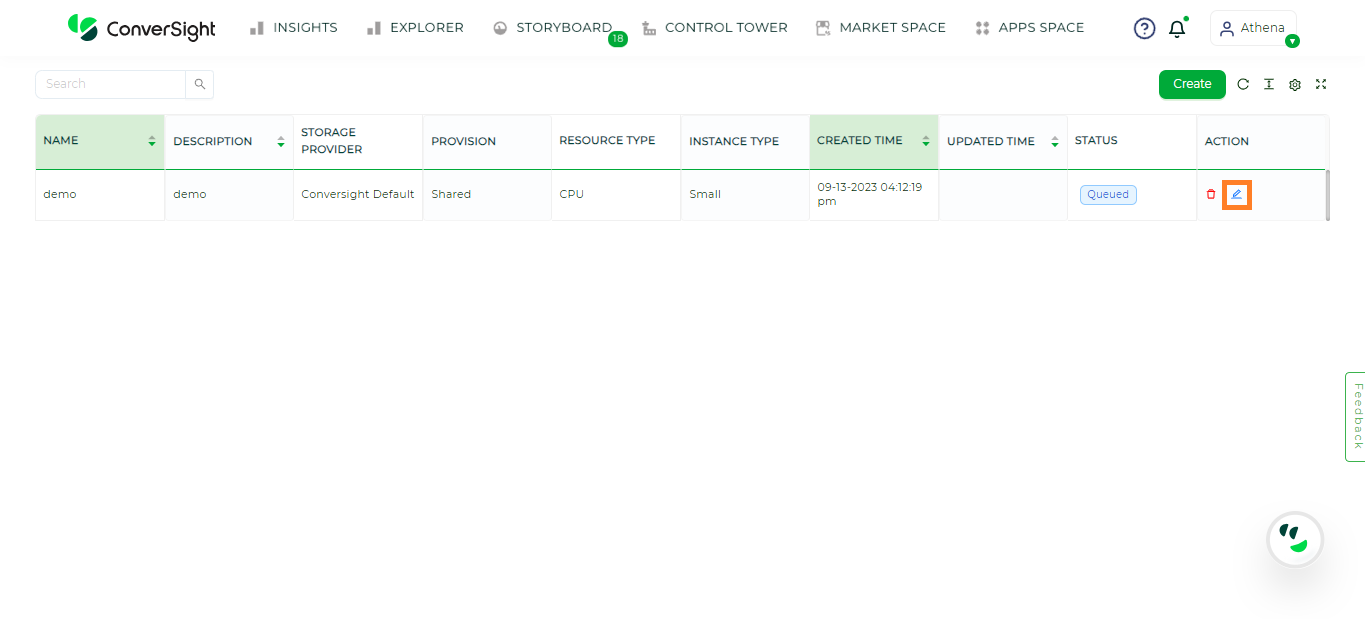
Editing Data Cache#
Once done, click on the Submit button to save the changes.

Saving changes in Data Cache#
Delete#
You can remove a Data Cache by clicking on the Delete icon that corresponds to the specific Data Cache.
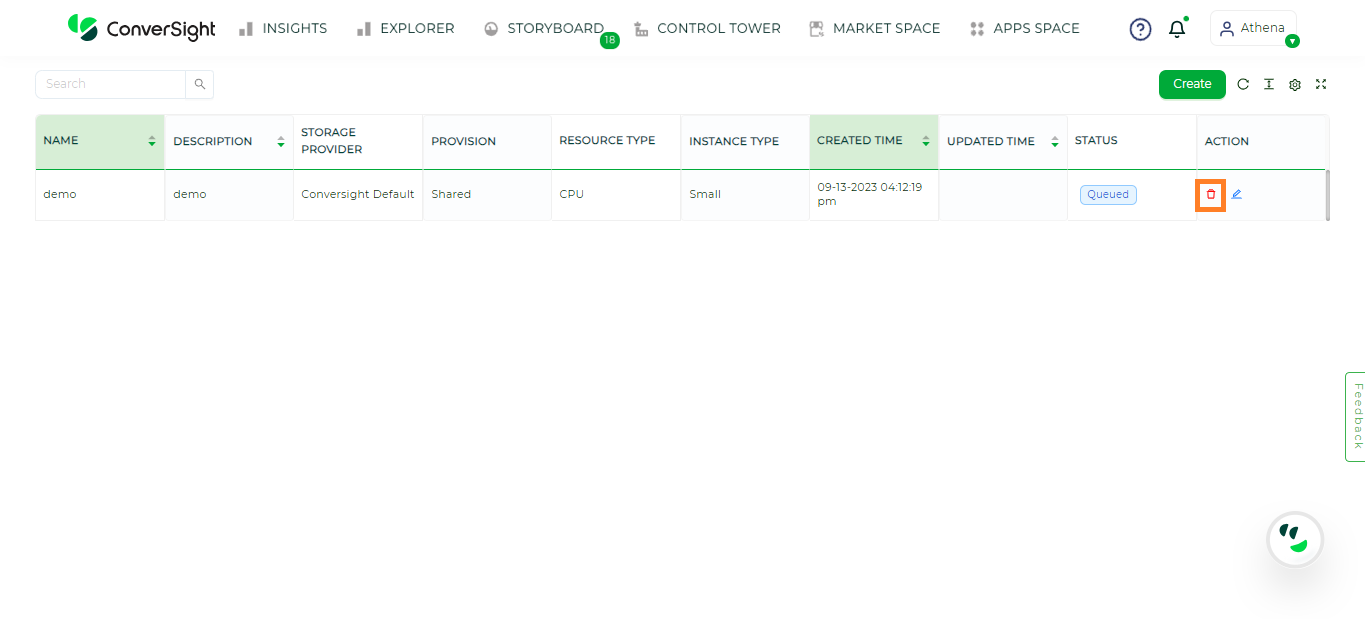
Deleting a Data Cache#
In summary, Data Cache functions as a database within a ConverSight instance, providing a mechanism for swift data retrieval when required.